How to Dry Chives the Easy Way


Preserve your fresh garden chives to enjoy all year long! Learn how to dry chives the easy way and get your pantry stocked while the herbs are plentiful.

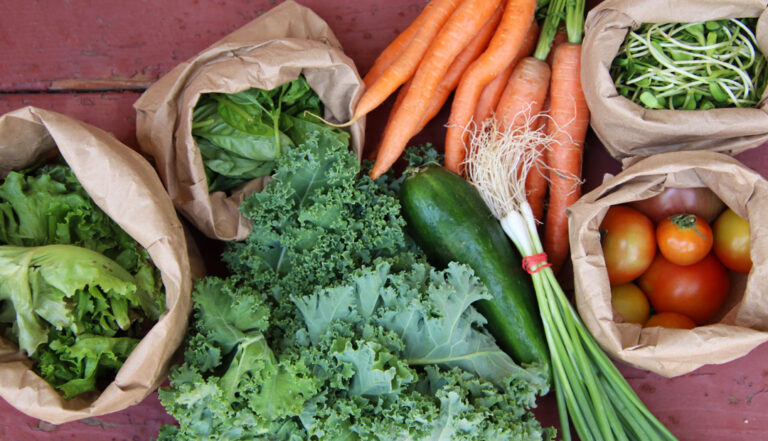
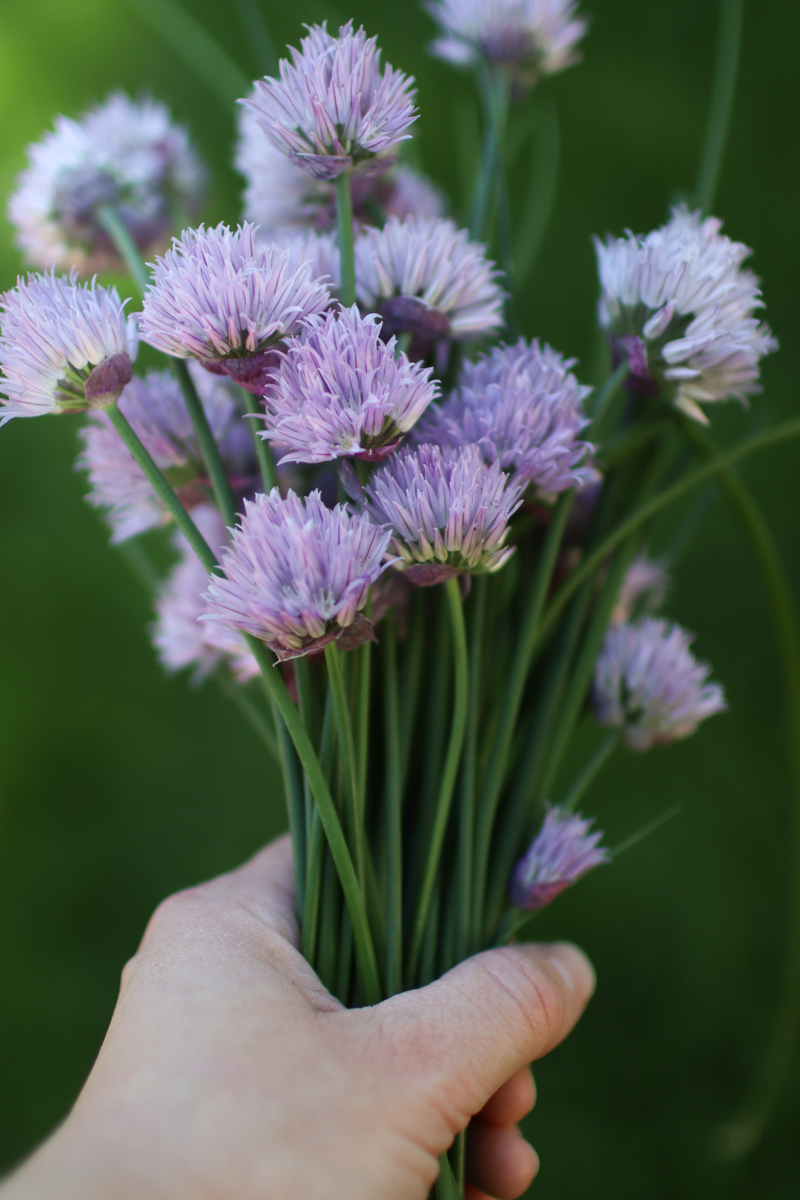
When winter settles in on the garden, one of the things I miss most is fresh chives.
Chives are always the first thing ready for harvest in the spring, and one of the last to go in the late fall. When they’re in season, I use them for just about everything!
Chive and onion cream cheese and chive butter are always stocked in the fridge for sandwiches, bagels, and more. When the chives are in bloom, I get to work making chive blossom vinegar, chive blossom salt, and chive blossom compound butter.
Fresh chives make an appearance on the table with breads, salads, baked potatoes, eggs, and just about anything else I can come up with!
As one of my very favorite herbs, I knew chives needed a place in my kitchen throughout the winter, and dried chives quickly became a staple.
Every summer, I dry a year’s worth of chives to enjoy when the garden is put to bed. They are so tasty, and so easy to preserve! Learn how to dry chives and how to use dried chives, so you can enjoy them year-round, too.
Why Dry Chives?
- Save money: Making your own dried herbs is typically less expensive than buying dried herbs, especially when it comes to perennial plants! Once you plant chives, they’ll come back year after year and offer a free source of herbs to stock your pantry with!
- Prevent food waste: If you harvested too many herbs or have leftover store-bought chives, you can prevent waste by drying them! This is a great way to make your chives last months instead of days or weeks.
- Enjoy chives year-round: You’ll love having homegrown chives in the middle of winter, and you’ll be thanking your past self!
- Easy and shelf-stable: I have found drying to be the best way to preserve fresh chives, versus freezing. It is very easy to do, and the chives can be stored in a pantry or cabinet, rather than taking up precious freezer space.
What You’ll Need
- Fresh chives: I harvest them from my herb garden, but you can absolutely dry store-bought chives too!
- Sharp knife: I recommend cutting the chives into small pieces before drying, in most cases. If you have herb scissors, those would also work.
- A baking sheet: Line it with parchment paper to make transferring the dried chives easy.
- Wooden spoon: This is to prop open the oven door. If you don’t have a wooden spoon, you can get creative with other ways to prop the door open. Just make sure they are melt-proof and non-flammable.
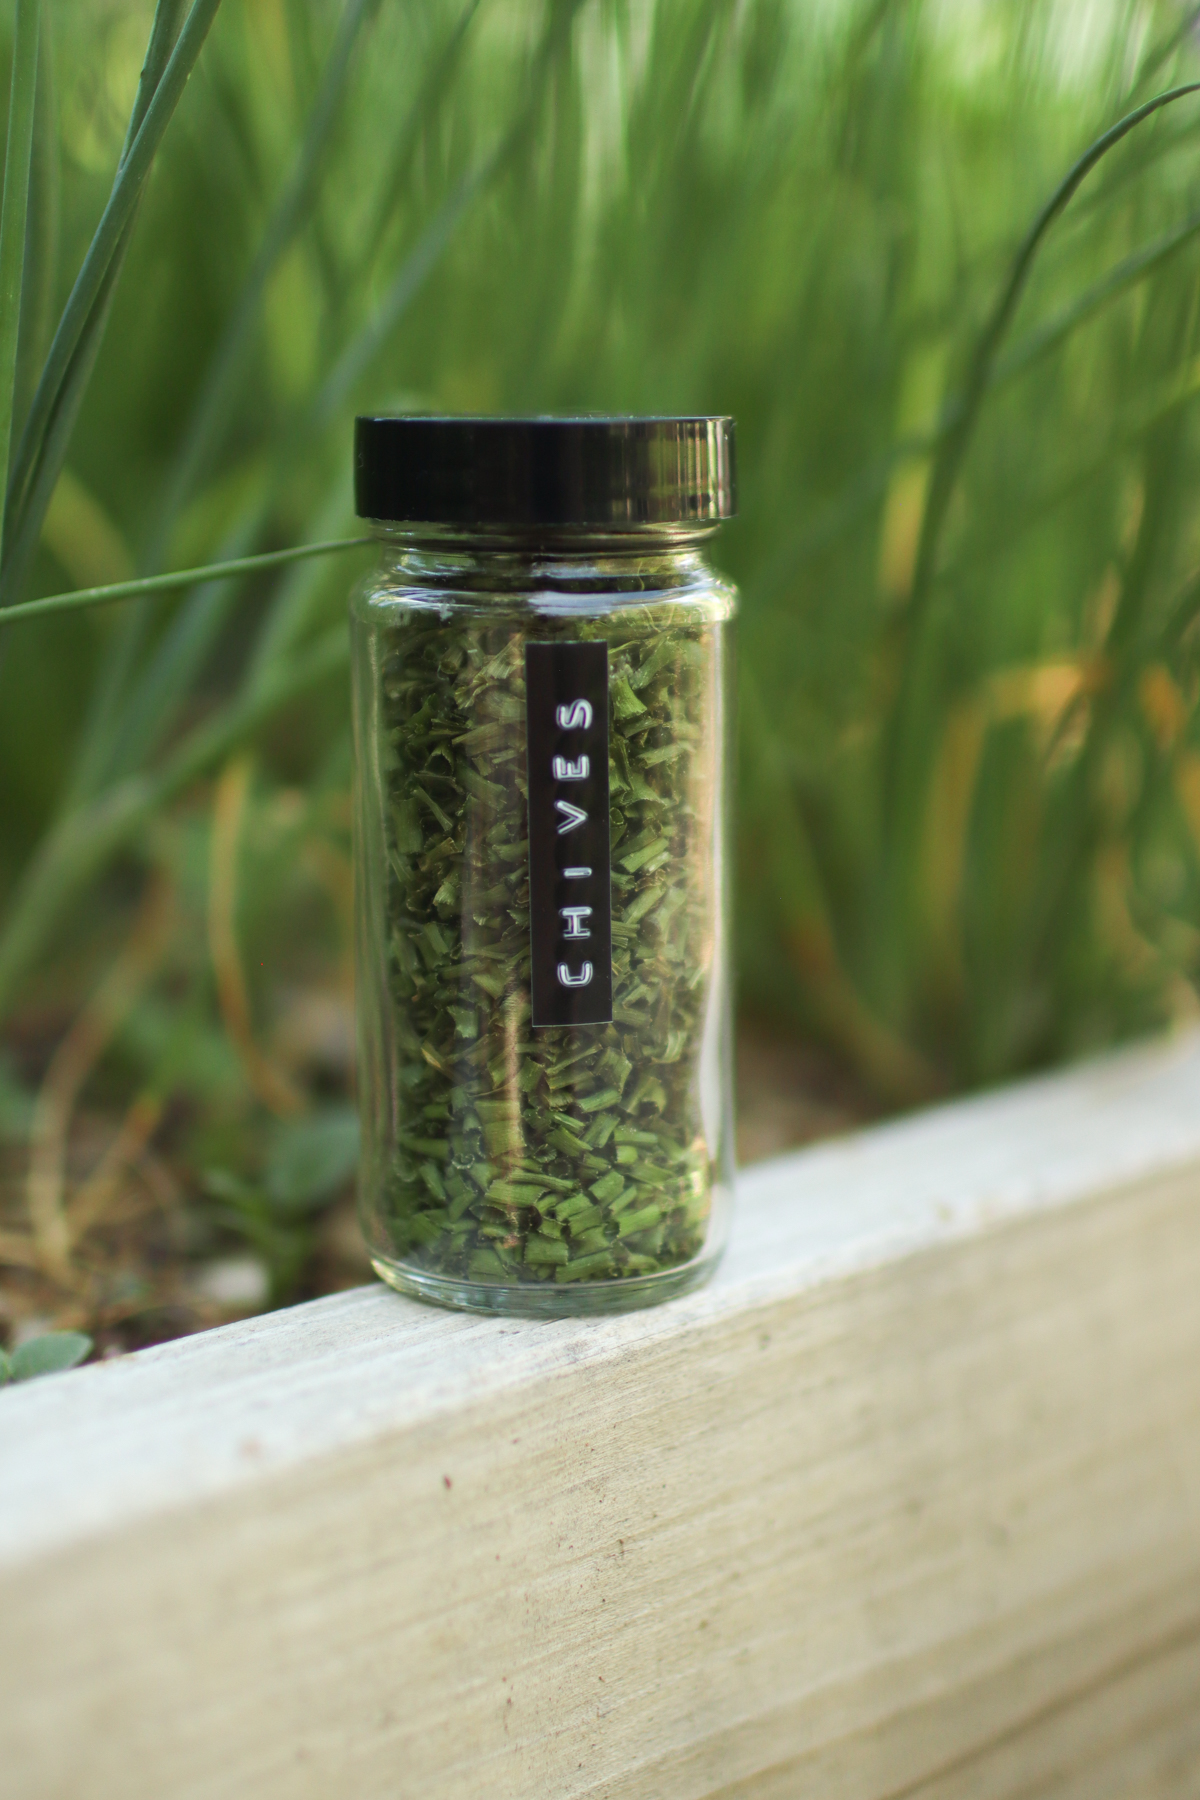
- Storage container: I prefer a spice jar or a mason jar.
How to Dry Chives

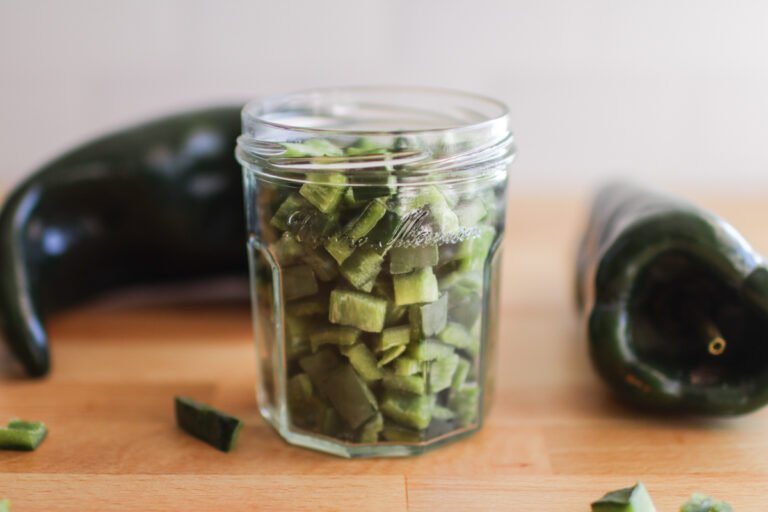
Step 1. Chop the chives into ⅛-¼ inch pieces.

Step 2. Spread the chopped chives out in a single layer on a baking sheet lined with parchment paper.

Step 3. Preheat the oven to the lowest setting (around 150-200°F). Place the chives in the oven and prop the door open with a wooden spoon to release excess moisture.

Step 4. Allow the chives to dehydrate in the oven until they are completely dry and crispy, but not dark or burned. Stir periodically. This will take around 45-60 minutes. Let them cool at room temperature, then transfer to an airtight storage container.
Tips
- I don’t typically wash my homegrown herbs, but if they are dirty or buggy, you can definitely give them a good rinse under cold water. Just be sure to dry the water off of them well with a salad spinner, kitchen towel, or paper towels.
- It’s a good idea to stir the chives a little bit throughout the drying process. I found that the ones in the center dried faster than those around the edges of the pan.
- Once the chives are mostly dry, you can turn off the oven and leave them in it for a while. The residual warmth will dry the chives out the rest of the way with a lower chance of burning them.
- Make sure the chives are completely dry and cool before storing them. Any remaining moisture will cause them to mold. If you are concerned, you can let them air dry for a few days after the oven drying and/or place a food-grade moisture absorber in the jar.
How to Air-Dry Chives
If you want to skip the oven, you can absolutely air-dry your chives instead. Air-drying is my preferred method for drying most herbs, and it can certainly work well for chives.
Once they are chopped, spread them out on a tea towel or screen and allow them to dry in an area with good circulation and minimal direct sunlight. You can also hang unchopped chives in a loose bundle, as I show in my how to dry parsley tutorial.
Once they are very crunchy and completely dry, transfer the chives to an airtight container.
Storage
Once chives are completely dried, they are shelf-stable. Store dried chives in an airtight container such as a mason jar or spice jar in a cool, dark cabinet.
Dried chives have a long shelf life and are good for several years, but the color and flavor will start to degrade after a year. I like to make enough to last one year, then make a fresh batch each spring or summer.
Uses for Dried Chives
Dried chives can be added to pretty much any cooked dish to add a pop of oniony flavor. I like to use them in soups, stews, and sauces.
They also make an excellent addition to salad dressings and marinades. Add a pinch to homemade ranch, lemon vinaigrette, or a tangy marinade for a burst of flavor.
FAQ
Yes! Spread them out in the dehydrator trays and run them through the dehydrator at the lowest setting, around 90°F, until they are dry and crunchy. I recommend drying them whole and then crunching them into smaller pieces, because chopped chives will fall through the holes in a lot of dehydrator trays.
You can, but I don’t think the final result turns out as well. The microwave zaps the flavor and color from the chives. If you can, I recommend sticking with the oven or air drying.
If you like the flavor of fresh chives, you’ll like the flavor of dried chives. They have the same flavor, though dried chives are much less potent than fresh.
More Helpful Preservation Tutorials
- How to Dry Chamomile
- How to Dry Lemon Balm (for Tea and More!)
- How to Dry Calendula
- How to Dry Sage
- How to Dry Oregano
- How to Freeze Garlic Scapes
🌿 Thanks for visiting Sprig & Spoon! If you found this tutorial helpful, I’d love it if you left a review and let me know how it went in the comments!

How to Dry Chives
Equipment
- sheet pan
- Knife and cutting board
Ingredients
- fresh chives
Instructions
- Prepare the chives. Give them a rinse and pat them dry, if needed. Chop the chives into ⅛-¼ inch pieces.
- Place the chives on a baking sheet. Spread the chopped chives out in a single layer on a baking sheet lined with parchment paper.
- Put them in the oven. Preheat the oven to the lowest setting (around 150-200 degrees F). Place the chives in the oven and prop the door open with a wooden spoon to release excess moisture.
- Dehydrate the chives. Allow the chives to dehydrate in the oven until they are completely dry and crispy, but not dark or burned. This will take around 45-60 minutes. Let them cool at room temperature, then transfer to an airtight storage container.Tip: Give the chives a stir frequently so they dry out evenly.
Notes
- It’s a good idea to stir the chives a little bit throughout the drying process. I found that the ones in the center dried faster than those around the edges of the pan.
- Once the chives are mostly dry, you can turn off the oven and leave them in it for a while. The residual warmth will dry the chives out the rest of the way with a lower chance of burning them.
- Make sure the chives are completely dry and cool before storing them. Any remaining moisture will cause them to mold. If you are concerned, you can let them air dry for a few days after the oven drying and/or place a food-grade moisture absorber in the jar.