Preservation
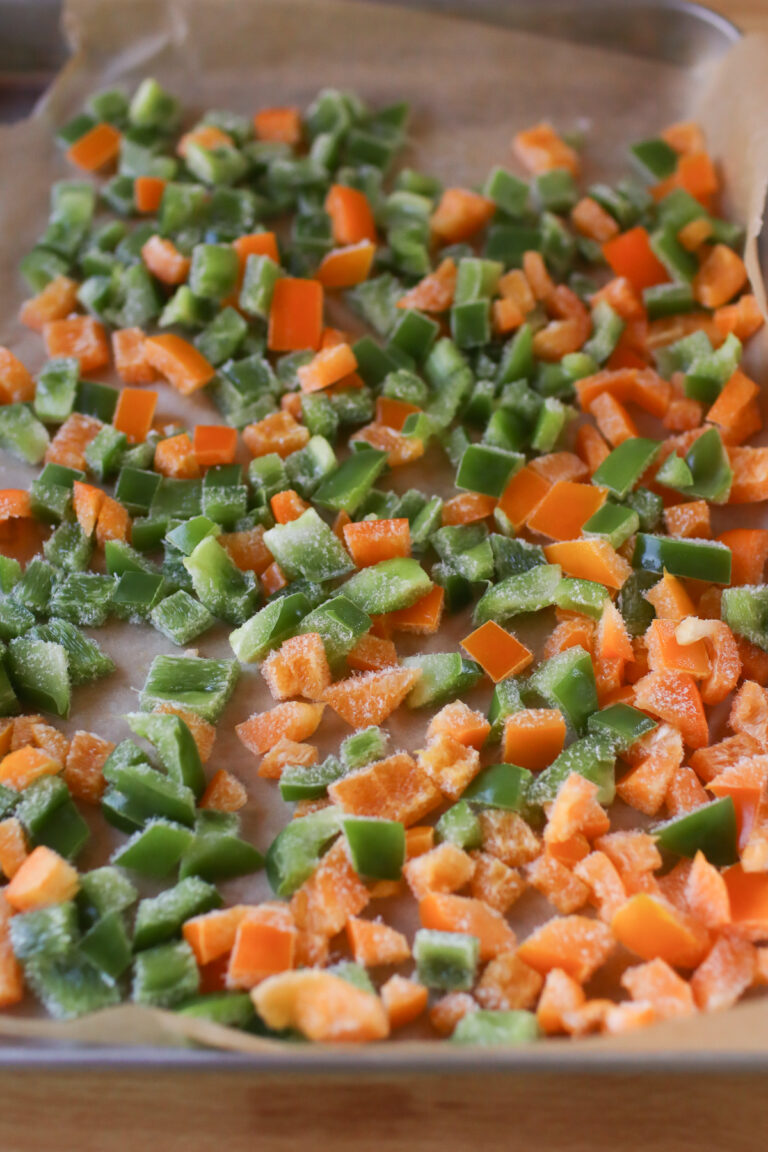
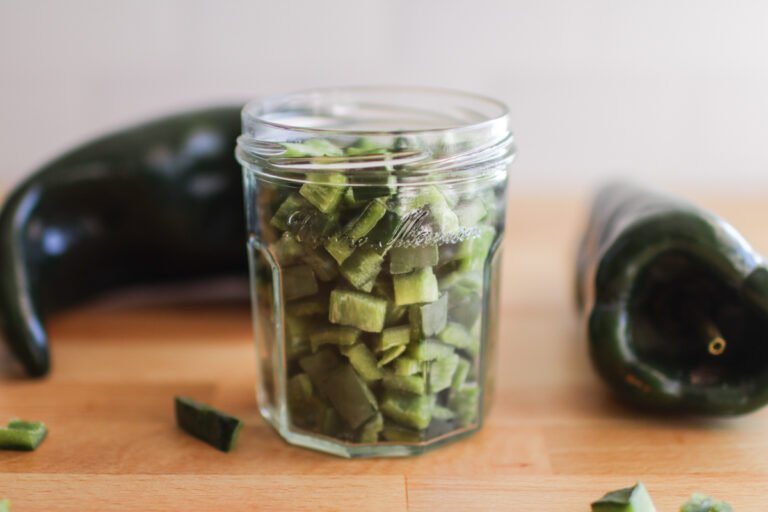
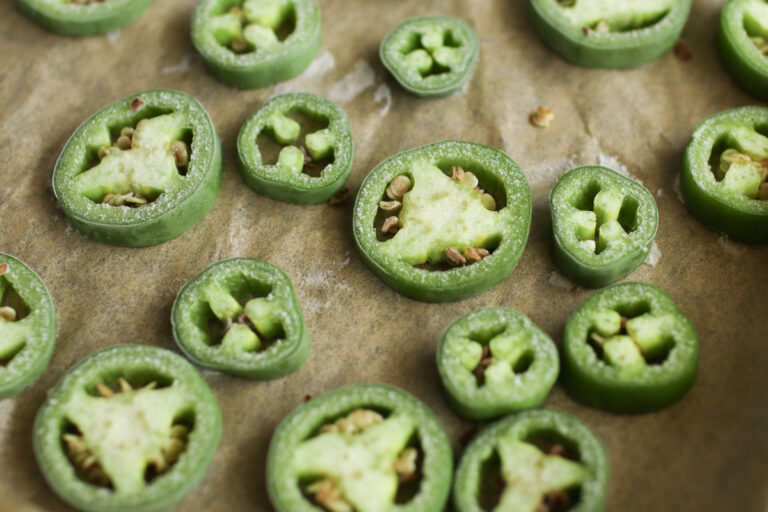
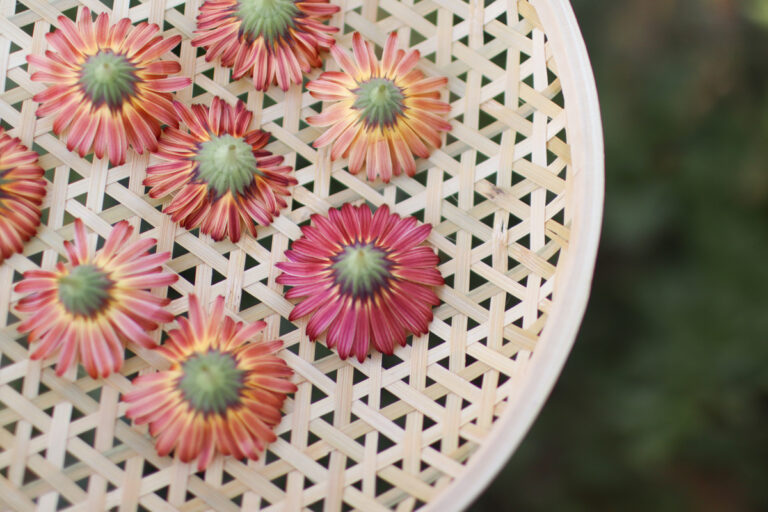
preserve the harvest with freezing, drying, and more! enjoy your garden produce all year long.
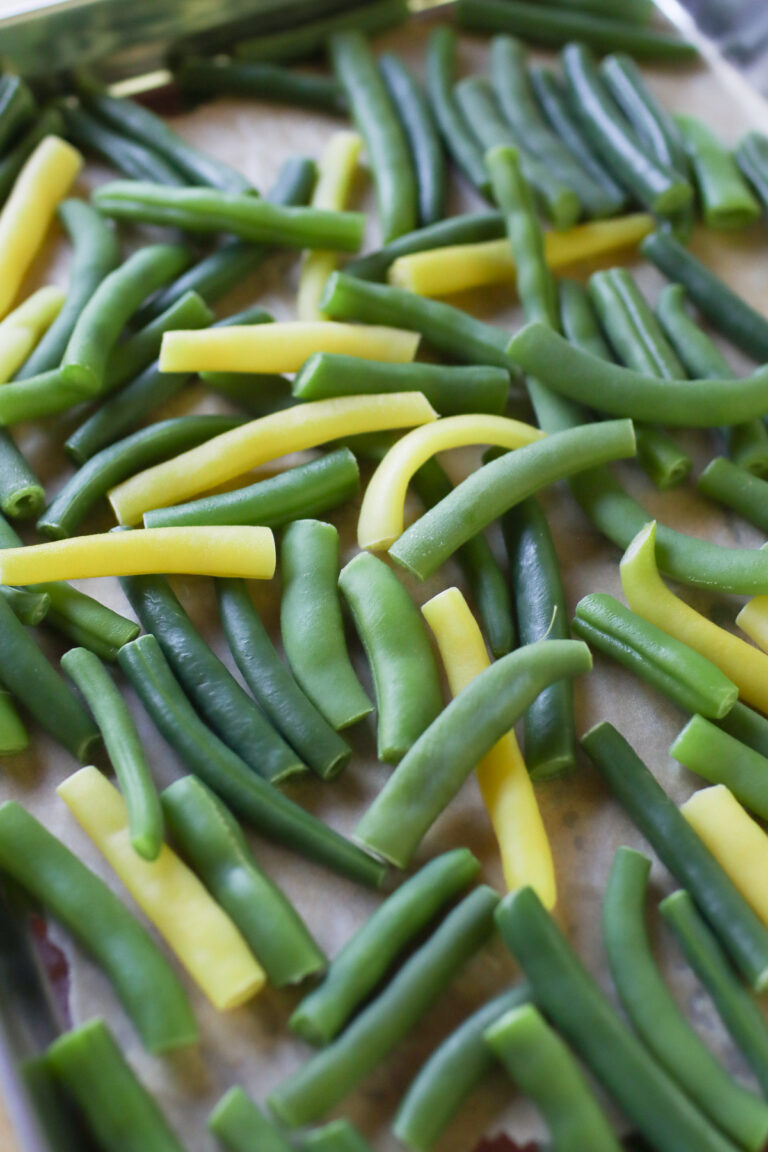
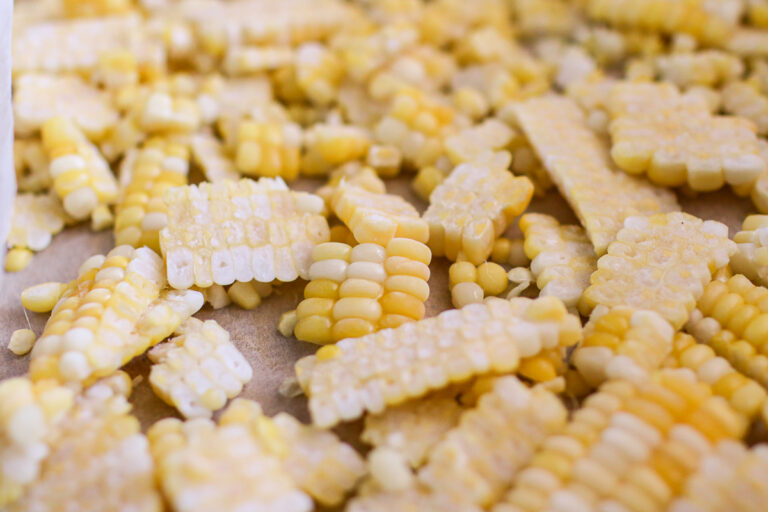


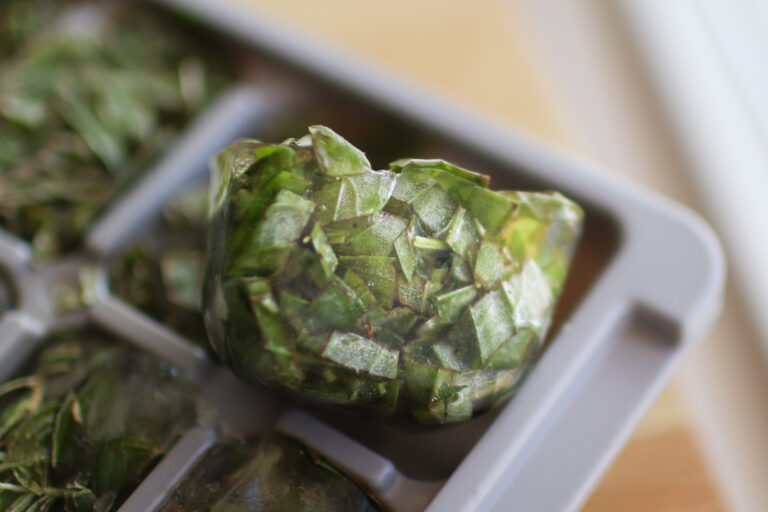


preserve the harvest with freezing, drying, and more! enjoy your garden produce all year long.