
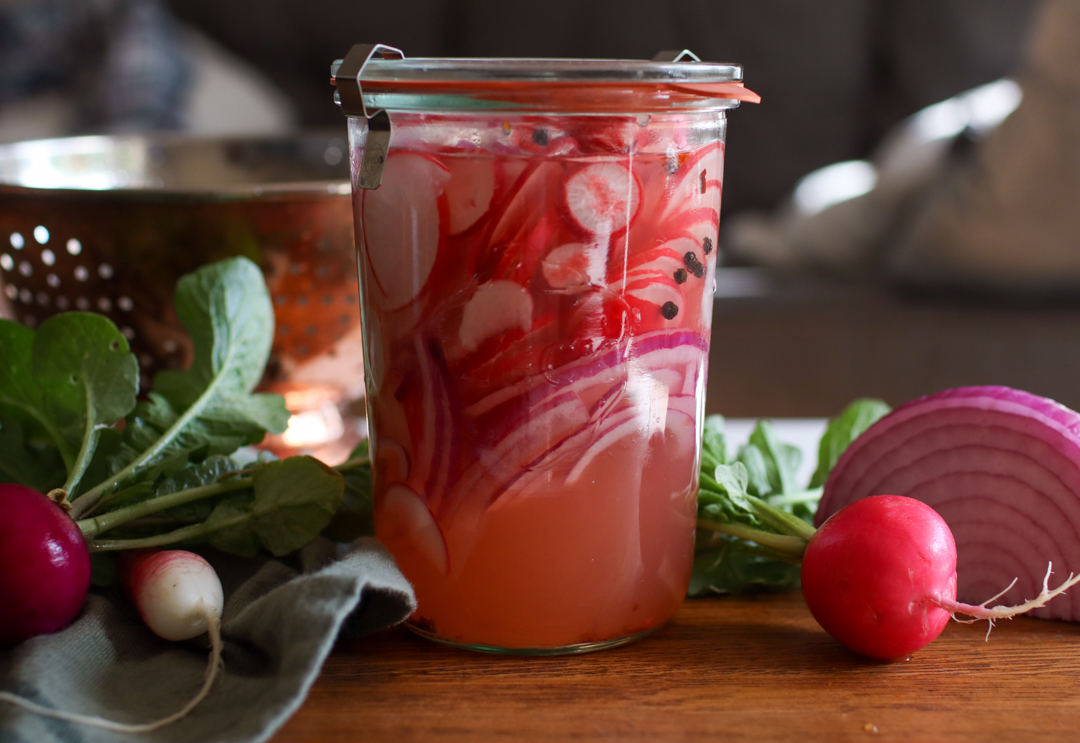
Pickled Radishes

Pickled radishes are the best way to preserve radishes to enjoy long after they have been harvested. A salty, tangy addition to any dish, pickled radishes are healthy, delicious, and incredibly fast to make.
Pickled Radish Ingredients
To make the most basic pickled radishes, you really only need radishes, vinegar, water, and salt. This recipe brings a little more flavor complexity to the table by adding other ingredients. To make this pickled radish recipe, you will need:
- Radishes
- Vinegar (I prefer white vinegar, but apple cider vinegar is a great option too)
- Water
- Salt
- Black peppercorns
- Red Pepper Flakes
- Red onions*
*The onions are optional, but they add a nice flavor and you get tasty pickled onions to eat too!
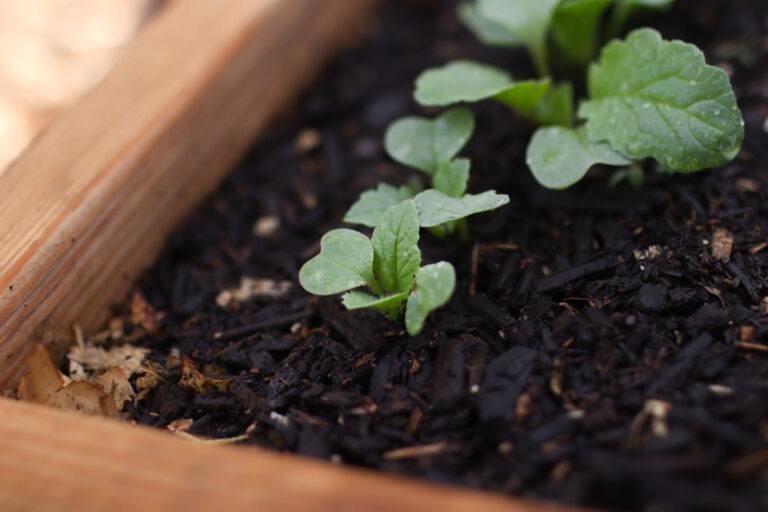
How to Grow Your Own Radishes
Radishes might be the easiest vegetable to grow. They love cooler temperatures, so start them early in the spring and grow them in the shade of other plants or under a shade cloth in the summer.
Start your radishes from seed up to six weeks before your last frost and plant according to the seed packet. If you plant more than one seed per hole, make sure to thin them as root vegetables are very sensitive to being overcrowded.
You don’t need a lot of space to grow radishes and they are very container-friendly. Your first round of radishes will be ready for harvest in roughly thirty days, so you can plant them in the same space you will be growing summer crops and they will be out before it’s time for the summer crops to get planted.
For a continual supply of radishes, succession plant some every 1-2 weeks. Harvest radishes when they are about as big as a cherry, or let them get a little bigger. If you let your radishes grow too long, they may get woody.
Equipment Needed for Pickled Radishes
You don’t need much to make delicious pickled radishes! The equipment that is necessary is:
- A pint- or quart-sized jar
- Cutting board
- Knife
- Small saucepan
If you have a mandolin that you enjoy using to cut vegetables thinly, you could certainly use that for slicing the radishes! I just use a good old-fashioned knife and a little bit of patience.
A note on the jar: Vinegar will corrode the metal in the jar lid. I would recommend a plastic Ball Lid or an all-glass jar. If you don’t have either of those, you can place a piece of parchment over the top of the jar before securing the lid.

What Types of Radishes to Use
Any radishes would be delicious in this recipe! Regular red radishes, whether grown or purchased from the farmer’s market or grocery store are the most common. If you have watermelon radishes, daikon, or any other variety, they will still taste great. Some radishes are spicier than others, so the flavor will change a bit, but they will all be delicious when pickled.
Pickled Radish Uses
Pickled radishes can be used on just about anything as a flavor-adder. I always serve them cold, but the dish they are in can be hot or chilled. Here are a few of my favorite uses for pickled radishes:
- Tacos, nachos and quesadillas
- Sandwiches (cold and grilled)
- Avocado toast
- Egg dishes
Keep a jar in the fridge and get creative with what you put them on. You may be surprised by what you enjoy having pickled radishes in!

How to Make Pickled Radishes
Making pickled radishes is extremely quick and easy.
- Pour vinegar, water and salt into a small saucepan and heat on high until it just starts to boil. Stir until the salt is completely dissolved then remove from heat. Allow to cool until it reaches room temperature. If you are short on time, heat only a little bit of the water to dissolve the salt, then add the rest of the water and the vinegar to the hot mixture to cool it down.
- Measure the red pepper flakes and black peppercorns into the bottom of a clean jar.
- Remove the stem and roots from the radishes then slice them as thinly as you can with a knife or mandolin. Slice the onion in thin slices next and put the radishes and the onions in the jar on top of the spices.
- Once the brine has cooled, pour it into the jar so that the radishes and onions are completely covered.
- Place a plastic or glass lid on the jar. If you are using a regular metal jar lid, lay a sheet of parchment paper over the top of the jar before placing and securing the lid.
- Place the jar in the fridge and leave to chill at least 4-6 hours before enjoying. Store in the fridge for a couple months after that.
Related Recipes

Pickled Radishes
Equipment
- pint jar
Ingredients
- 1 c. thinly sliced radishes
- 1/4 small red onion thinly sliced
- 1/2 c. vinegar
- 1/2 c. water
- 1 tsp salt
- 2 tsp black peppercorns
- 1/2 tsp red pepper flakes
Instructions
- Pour vinegar, water and salt into a small saucepan and heat on high until it just starts to boil. Stir until the salt is completely dissolved then remove from heat. Allow to cool until it reaches room temperature. If you are short on time, heat only a little bit of the water to dissolve the salt, then add the rest of the water and the vinegar to the hot mixture to cool it down.
- Measure the red pepper flakes and black peppercorns into the bottom of a clean jar.
- Remove the stem and roots from the radishes then slice them as thinly as you can with a knife or mandolin. Slice the onion in thin slices next and put the radishes and the onions in the jar on top of the spices.
- Once the brine has cooled, pour it into the jar so that the radishes and onions are completely covered.
- Place a plastic or glass lid on the jar. If you are using a regular metal jar lid, lay a sheet of parchment paper over the top of the jar before placing and securing the lid.
- Place the jar in the fridge and leave to chill at least 4-6 hours before enjoying. Store in the fridge for a couple months after that.


So tangy and delicious! I can’t get enough of these pickled radishes on my tacos, nachos, and more.