How to Dry Calendula
Learn how to dry calendula with this easy tutorial! Calendula is one of the easiest herbs to dry and is very useful for skincare products, tea, and more.

I first started growing calendula years ago because it was popular and beautiful. I had no idea it was also a beneficial herb to have in your herb cabinet!
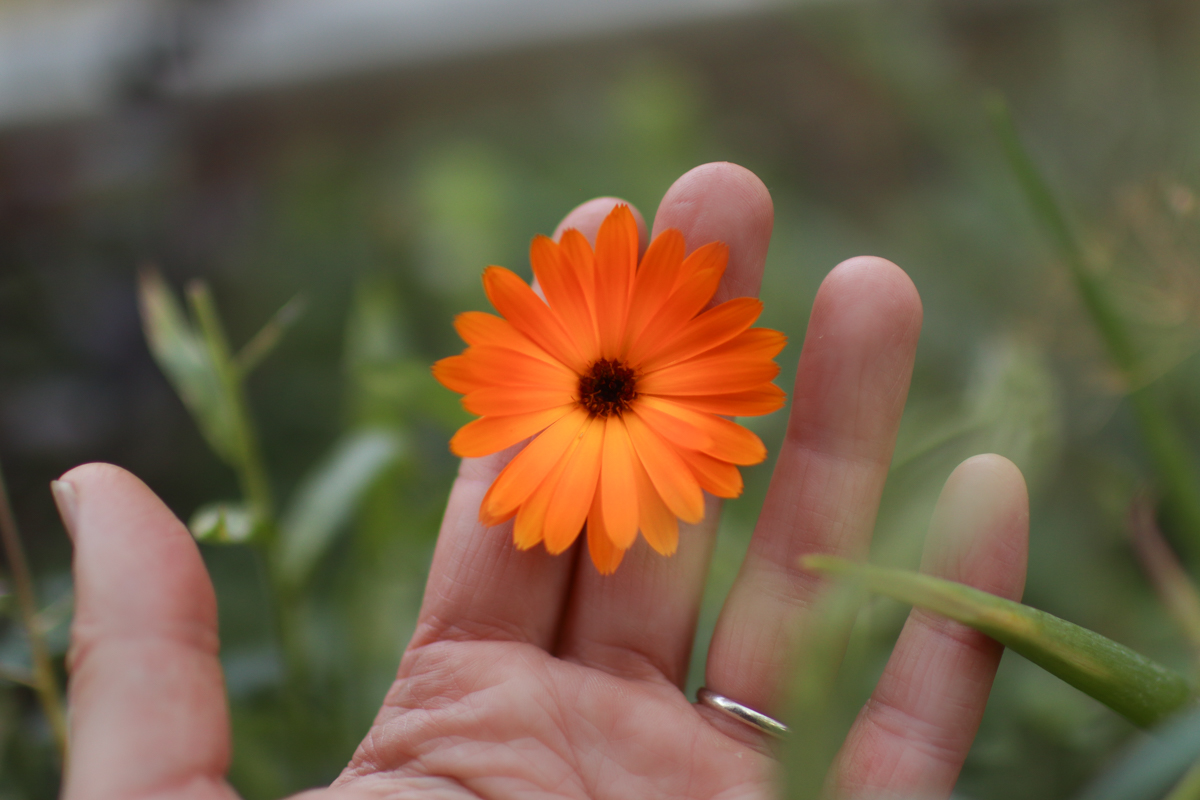
Calendula (Calendula Officinalis), also called a pot marigold, is a plant that produces adorable yellow, bright orange, or salmon blooms that can be harvested and dried for use in salves and balms or brewed into tea.
It’s very easy to grow and dry, too. If you are new to gardening or want to start an herb garden (learn how to grow an herb garden), I strongly encourage you to add calendula to your growing plan!
Why We Love Calendula
Easy to grow: You don’t need to be an expert gardener to grow calendula. They are one of my top picks in my list of 15 easiest flowers to grow! All you have to do is scatter the seeds, rake them in, and enjoy your vibrant calendula flowers. They readily reseed, too, so you may not have to plant them ever again!
Easy to dry: Of all the herbs, I think calendula is the easiest to dry. You don’t need any hanging contraption, dehydrator, or oven to dry calendula.
Useful: Dried calendula is great to have on hand! You can use it in tea, bath salts, skincare, salves, and more!
Beauty in the garden: Calendula flowers are so pretty. You can find them in yellow, orange, or light pink and they have consistent blooms throughout the entire growing season if harvested or deadheaded regularly. Add a splash of color to any vegetable garden or flower bed with these lovely little flowers!
Attract pollinators: Pollinators love calendula blooms! Attracting beneficial insects to your yard is a must for a healthy vegetable garden, and what better way to do it than with beautiful, edible flowers?

This post contains affiliate links. If you make a purchase through the links, I will earn a small commission at no cost to you. As an Amazon Associate, I earn from qualifying purchases. Read my full disclosure here.
What you’ll need
Fresh calendula flowers: Harvest them fresh from the garden and begin the drying process immediately for best results!
Drying surface: You can dry calendula on a baking rack, drying basket, drying screen,or even an old window screen. The more airflow the better, so I prefer a baking rack or drying rack like this one.
Glass jars for storage: Once the calendula blossoms are completely dry, you’ll want to store them in an airtight container. I’ve found that glass mason jars work best.
How to Dry Calendula
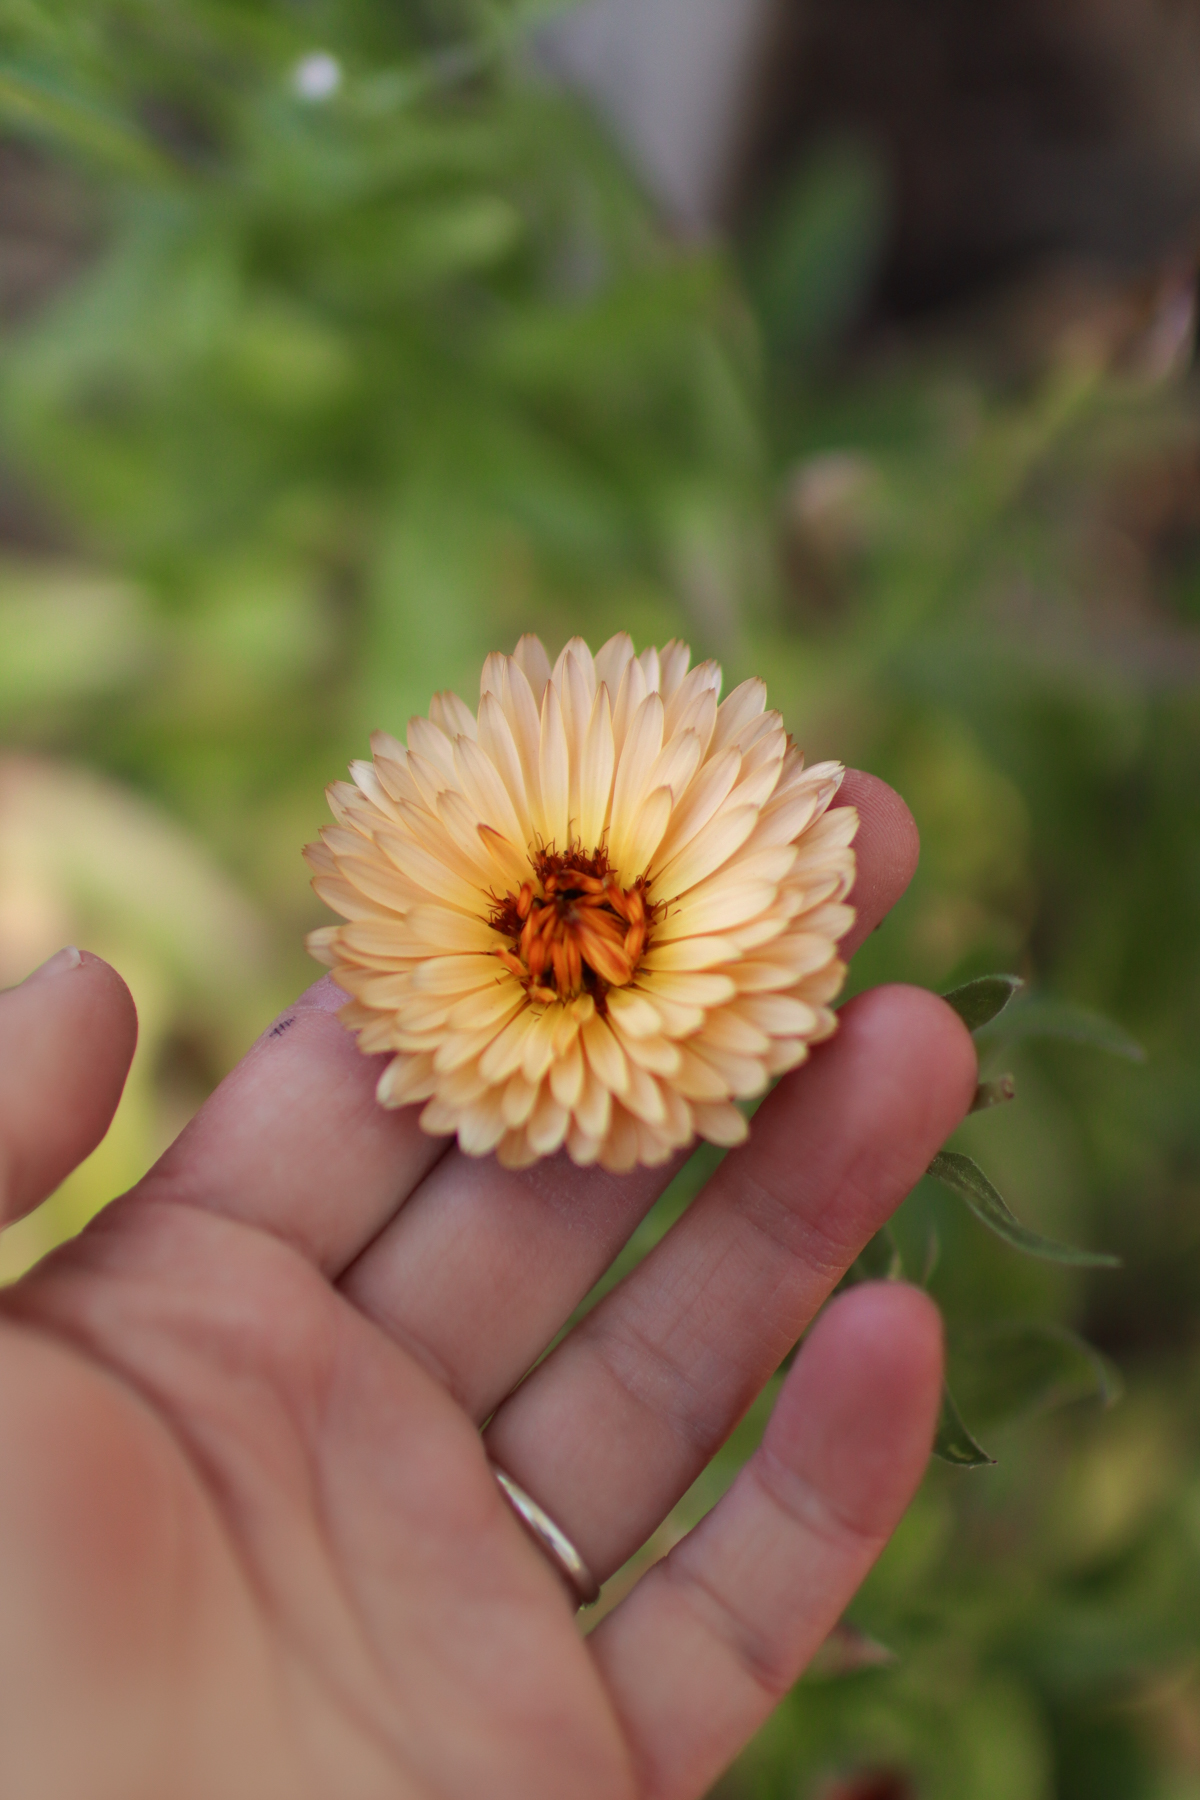
Step 1. Begin by harvesting your calendula. Place a finger on either side of the stem, directly under the flower head, and pull up to pluck the flower off of the stem. Do not wash the flowers.

Step 2. Lay the flowers face down on a drying screen or tea towel.

Step 3. Place the flowers in a dry location out of direct sunlight for a few weeks until they have no more moisture in them and the petals feel crunchy.
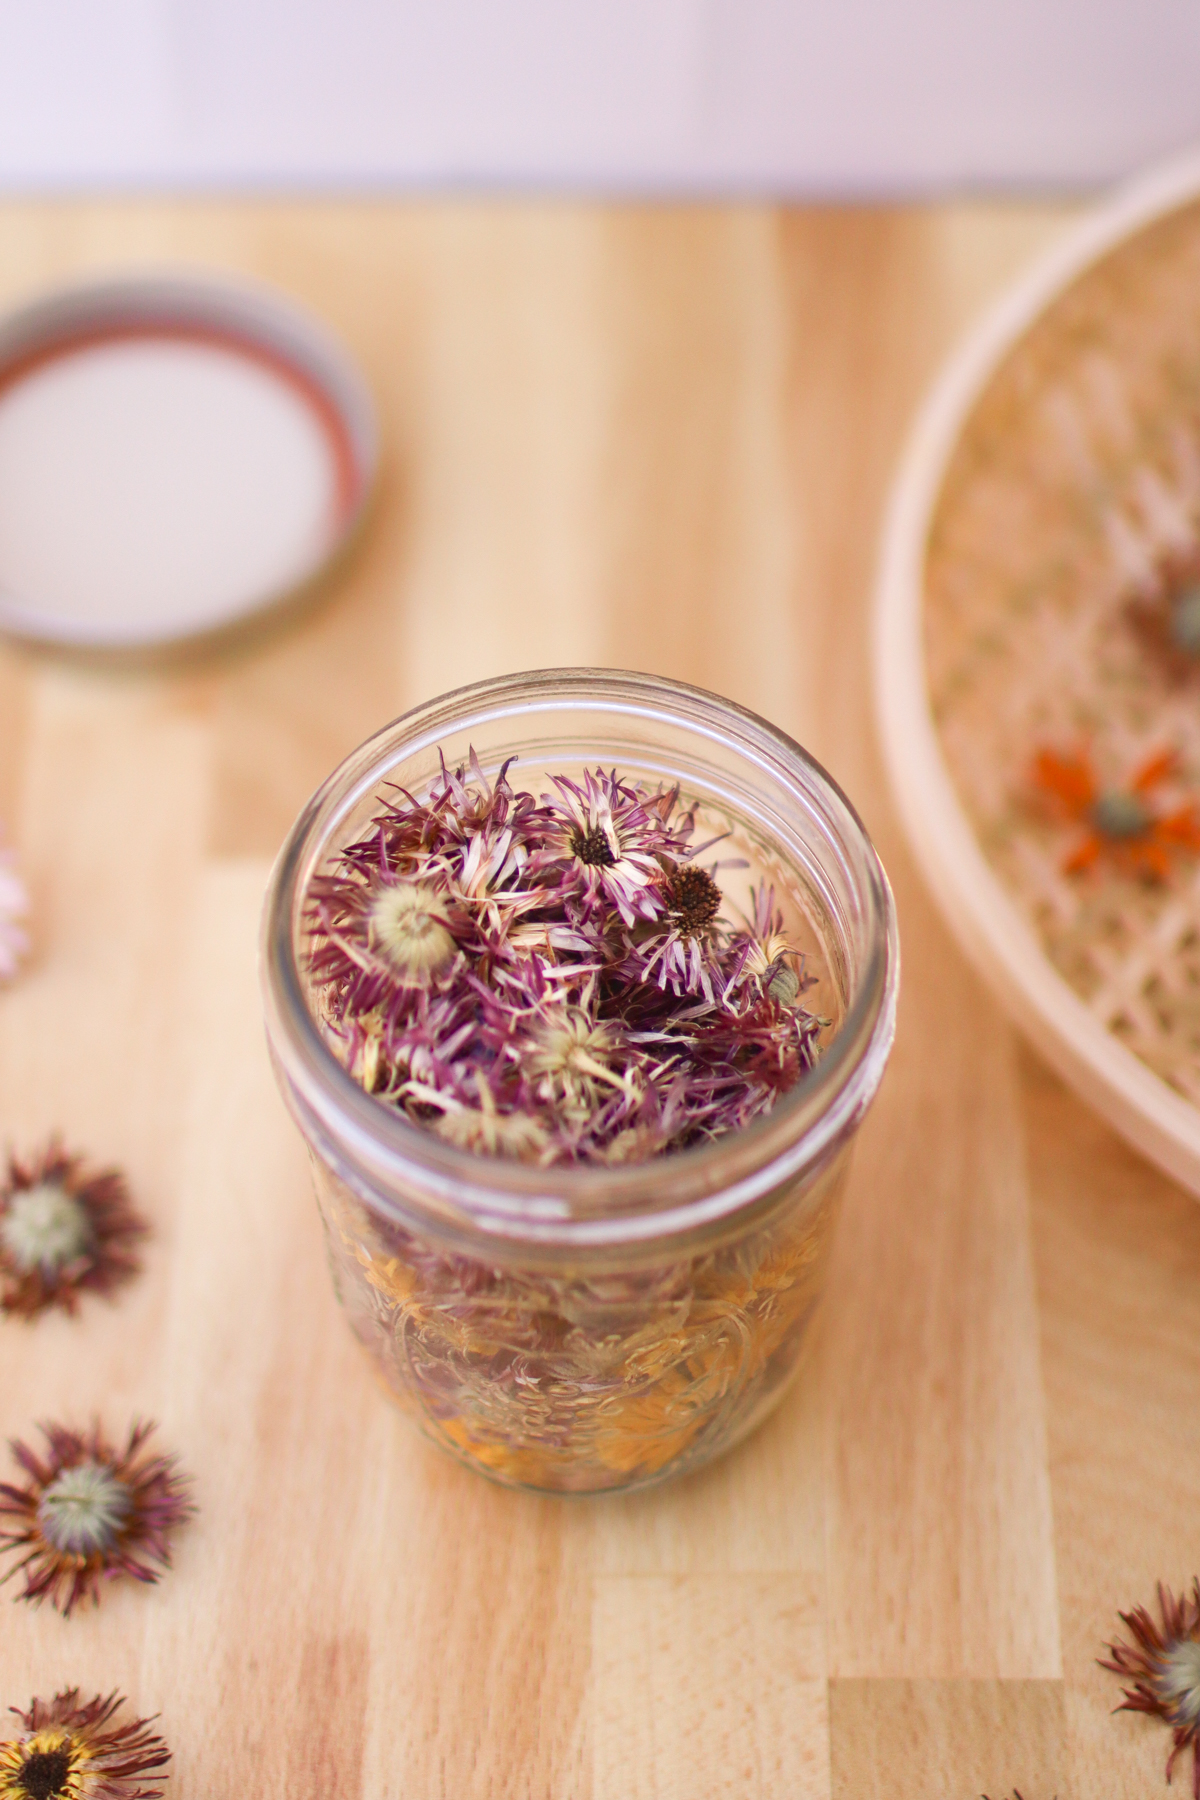
Step 4. Transfer the dried flowers to a jar and store in a cool, dark place.
Helpful Tips
- Don’t wash your flower heads after harvest. Calendula has a sticky resin on it which provides many of the medicinal benefits. If there are any bugs on the flowers, I like to blow them off gently.
- Place the flowers face down immediately after harvesting for best results. They start to close up quickly and it’s best to have the petals fanned out for airflow.
- If you dry herbs a lot, I definitely recommend investing in an herb drying rack like the one I have. It keeps everything organized and simple, and it saves my counter space!
- Don’t forget about your calendula. If you leave herbs to dry too long, they may get dusty. It’s best to get them in an airtight container as soon as they are fully dry.
- How long the calendula takes to dry will depend on the humidity and airflow, but I usually leave mine for about a month just to be safe.
- Be sure your flowers are completely dry before moving them to a jar. Any moisture left in the flowers may cause mold to develop.

Tips for Growing Calendula
Start your calendula plants by seed in the spring. These flowers are frost-tolerant and will readily reseed, so you may only need to plant once!
Give your calendula rich, well-drained soil that has been amended with compost. While it will grow best in full sun, it is tolerant of partial shade.
Harvest the flowers often. If you let them go to seed, the plant will stop producing and will die. Keep the flowers harvested or at least deadhead (remove the dried blooms) often.
Save some seeds! Calendula is so easy to save seeds from, so there is no need to keep purchasing year after year. At the end of the season, let a few blooms go to seed. Once the seeds are brown and dry, they will easily fall off the flower into your hand.
Uses for Calendula
- Make an oil infusion with olive oil. Calendula oil can be used to make soaps, salves, balms, and more.
- Use the calendula petals in a floral bath salt.
- Brew dried calendula flowers into calendula tea or add them to herbal tea blends.
- Add fresh blooms to edible flower ice cubes or directly into beverages for a lovely garnish.

FAQs
What’s the best way to dry calendula?
Calendula is best air-dried. All you have to do is place them face down on a drying surface and allow the air to do the work!
Can I dry calendula in the dehydrator?
Yep! Spread them out on the dehydrator trays and dehydrate at around 95°F until they are completely dry.
When is the best time to harvest calendula?
Harvest calendula in the early morning after some of the dew has dried up for best results. Of course, you can harvest it any time of the day if that’s when you’re able!
Where can I get calendula seeds?
My go-to seed company is Botanical Interests. Their seeds have excellent germination rates and the packets are beautiful and informational. You can shop a variety of different calendula colors on their website! My other favorite seed companies are Johnny’s Seeds and High Mowing Organic Seeds.
More Preservation Tutorials
Thanks for visiting Sprig & Spoon! If you found this tutorial helpful, I’d love it if you left a review and let me know how it went in the comments!

How to Dry Calendula
Equipment
- Drying surface a baking rack, drying basket, or drying screen
- Glass jar for storage
Ingredients
- Fresh calendula flowers
Instructions
- Begin by harvesting your calendula. Place a finger on either side of the stem, directly under the flower head, and pull up to pluck the flower off of the stem. Do not wash the flowers.
- Lay the flowers face down on a drying screen or tea towel.
- Place the flowers in a dry location out of direct sunlight for a few weeks until they have no more moisture in them and the petals feel crunchy.
- Transfer the dried flowers to a jar and store in a cool, dark place.
Notes
- Don’t wash your flower heads after harvest. Calendula has a sticky resin on it which provides many of the medicinal benefits. If there are any bugs on the flowers, I like to gently blow them off.
- Place the flowers face down immediately after harvesting for best results. They start to close up quickly and it’s best to have the petals fanned out for airflow.
- If you dry herbs a lot, I definitely recommend investing in an herb drying rack like the one I have. It keeps everything organized and simple, and it saves my counter space!
- Don’t forget about your calendula. If you leave herbs to dry too long, they may get dusty. It’s best to get them in an airtight container as soon as they are fully dry.
- How long the calendula takes to dry will depend on the humidity and airflow, but I usually leave mine for about a month just to be safe.
- Be sure your flowers are completely dry before moving them to a jar. Any moisture left in the flowers may cause mold to develop.