
How to Freeze Green Beans
Enjoy your garden-fresh green beans all year long with this easy preservation method! Learn how to freeze green beans in just a few easy steps to stock your freezer for winter. Frozen green beans are delicious steamed with butter or added to soups, stir-fries, and more.
I must confess: I used to hate frozen green beans.
When I would buy them from the store, they always seemed mushy and unpleasant to eat.
So when I started gardening and was looking for a good way to preserve my green beans, I was quite reluctant to try freezing. I’m sure glad I tried anyway, however, because they were absolutely delicious, and it has become my go-to method for preserving a favorite vegetable.
Freezing green beans is an excellent way to preserve them. It is faster and easier than canning or freeze drying, and you’re left with a stash of preserved veggies that you’ll actually look forward to eating.
Learn how to freeze green beans with this step-by-step tutorial and keep your delicious homegrown green beans in stock all through the winter months for that little taste of summer.
Why You’ll Love Freezing Green Beans
- Preserve your harvest: What’s better than enjoying homegrown or locally sourced green beans in the middle of winter? Freezing is an easy and delicious way to preserve green beans for future use.
- Prevent waste: If you have more beans than you can eat, preserving is an excellent way to prevent them from ending up in the compost pile!
- Useful freezer item: I love having frozen green beans stashed in my freezer! They make an easy side dish that’s ready in minutes, and they’re a great way to add some veggies to a meal.
This post contains affiliate links. If you make a purchase through the links, I will earn a small commission at no cost to you. As an Amazon Associate, I earn from qualifying purchases. Read my full disclosure here.
What You’ll Need
- Fresh green beans: From your garden, the farmers market, or the grocery store.
- A paring knife: I like to use this for removing the ends of the green beans. You can also snap them by hand if you prefer.
- A large pot: You’ll need a large pot of boiling water to blanch the green beans
- A large bowl: An ice bath is essential for chilling the beans right after blanching.
- Kitchen towel: For drying the green beans. Paper towels or a salad spinner will also work.
- A sheet pan: I like to flash freeze my beans so they don’t stick together in a huge clump. You’ll need a large baking tray lined with parchment paper.
- Freezer container: I usually opt for a plastic freezer bag, but you can use food storage containers or glass jars too.
How to Freeze Green Beans

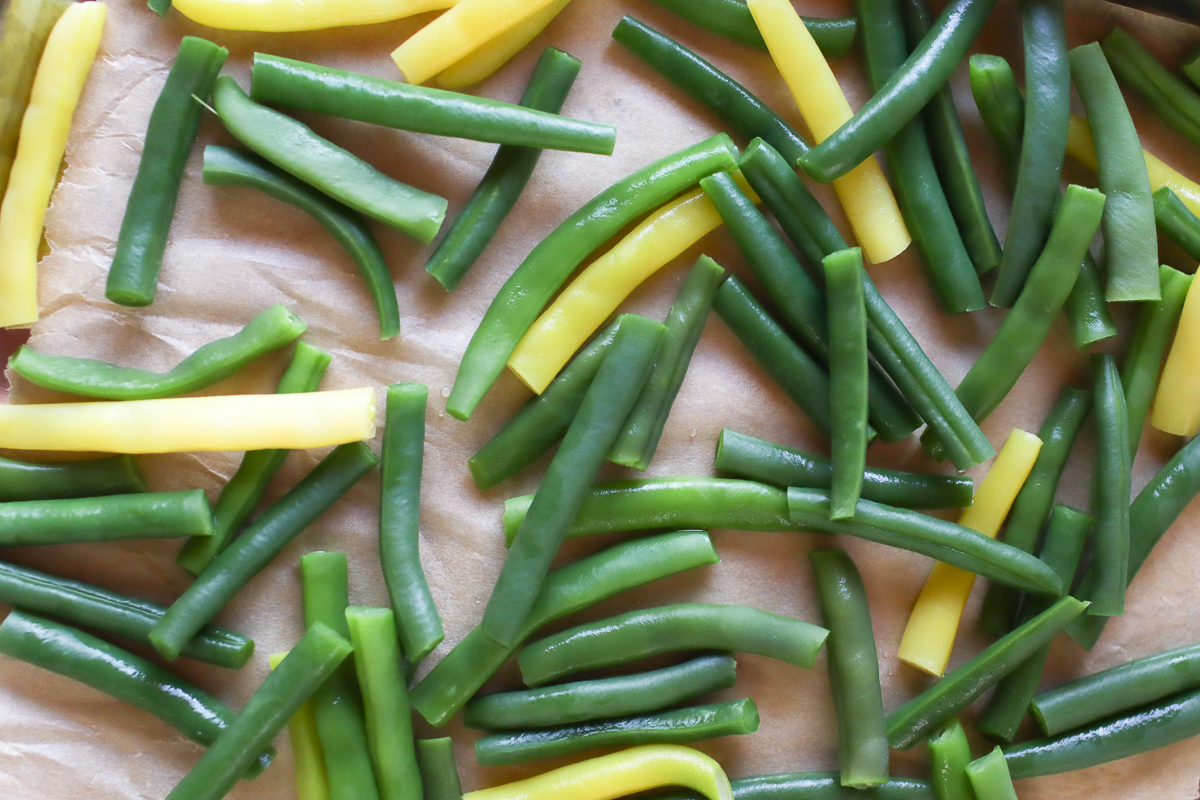
Step 1: Prepare your green beans by cutting off the ends. Some people prefer both ends removed, while others cut just the stem end. If you want your beans cut down smaller, you can also do that.
Step 2: Get a large pot of water to a rolling boil and add the green beans. Allow them to boil for 2 minutes, or until the beans have a vibrant green color. You may need to work in batches — don’t overcrowd the pot.
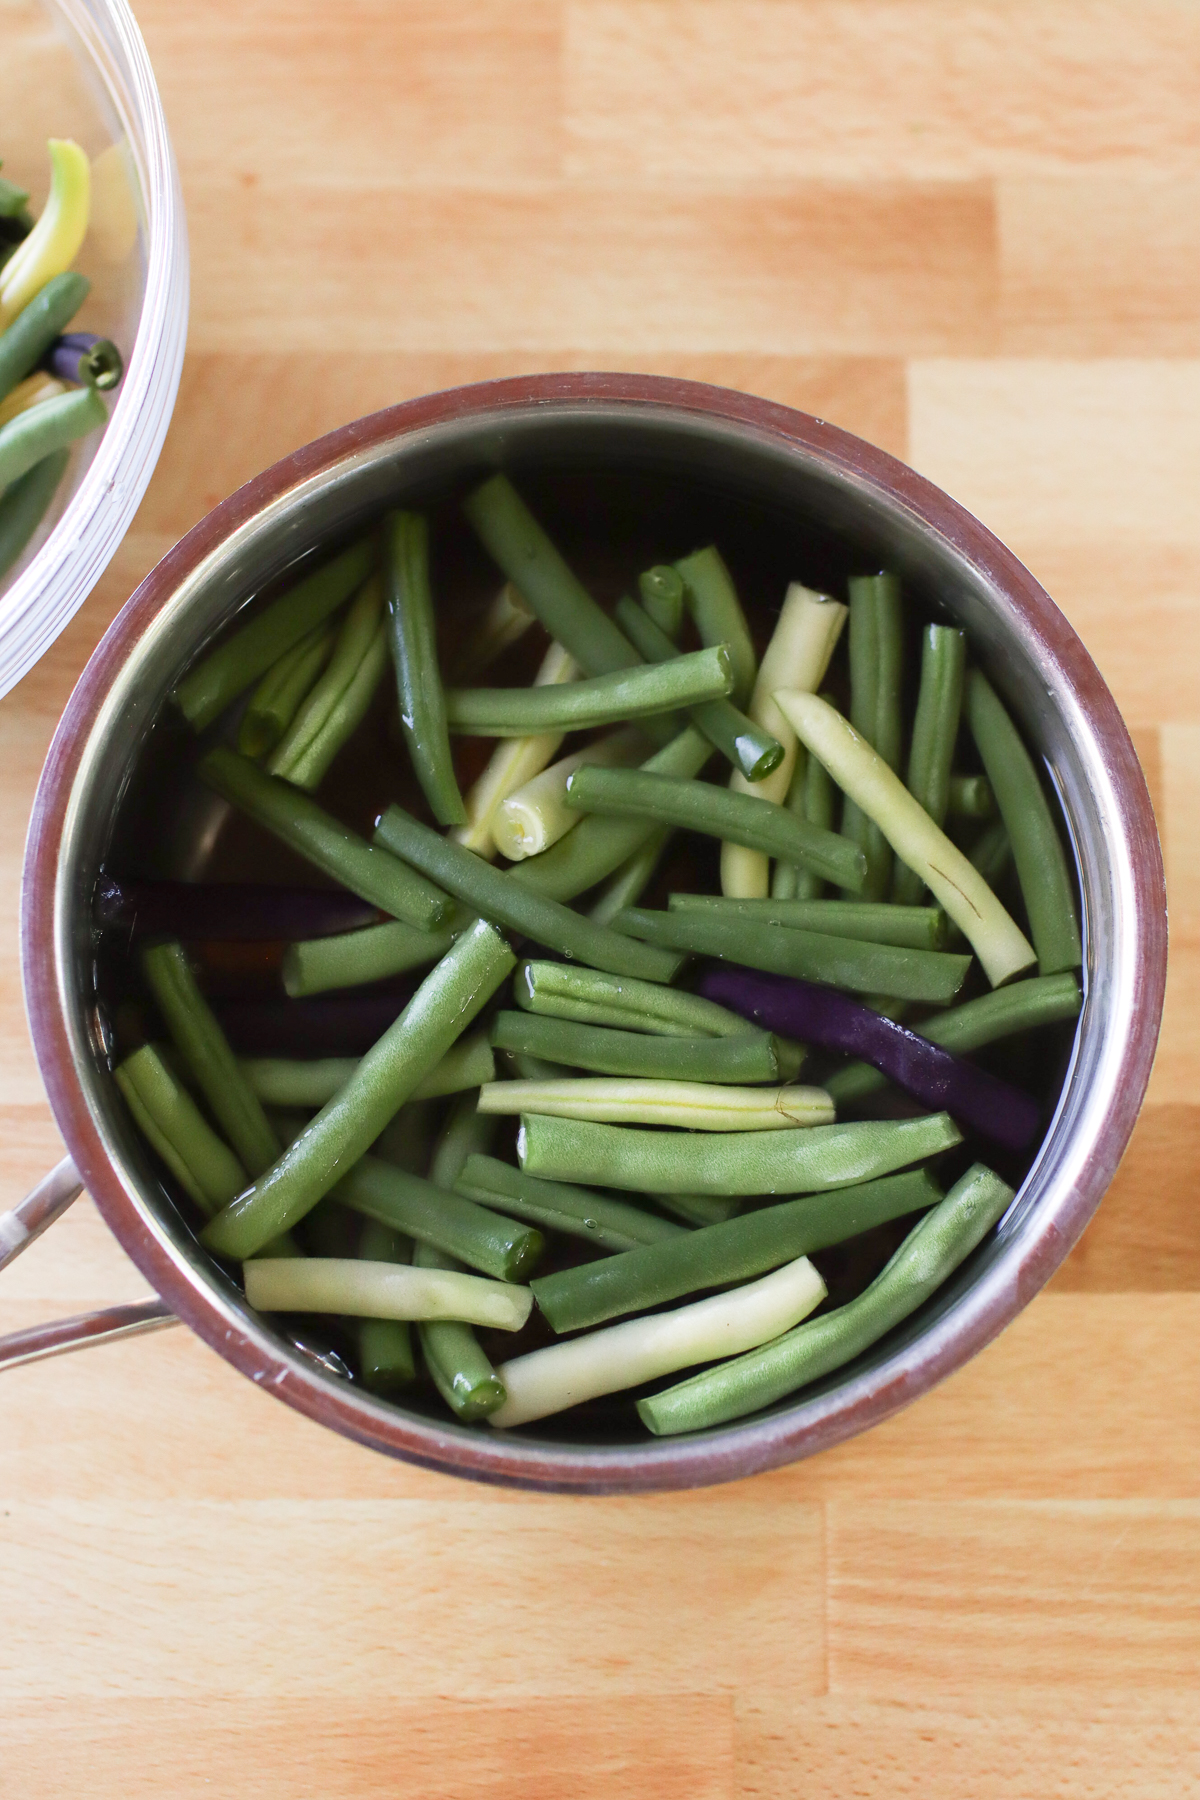
While they boil, prepare an ice bath by filling a large bowl with cold water and several handfuls of ice.

Step 3: Once the beans are boiled, remove them from the water and immediately submerge them in the ice water bath to cool. Allow them to chill in the ice water for 5-10 minutes.
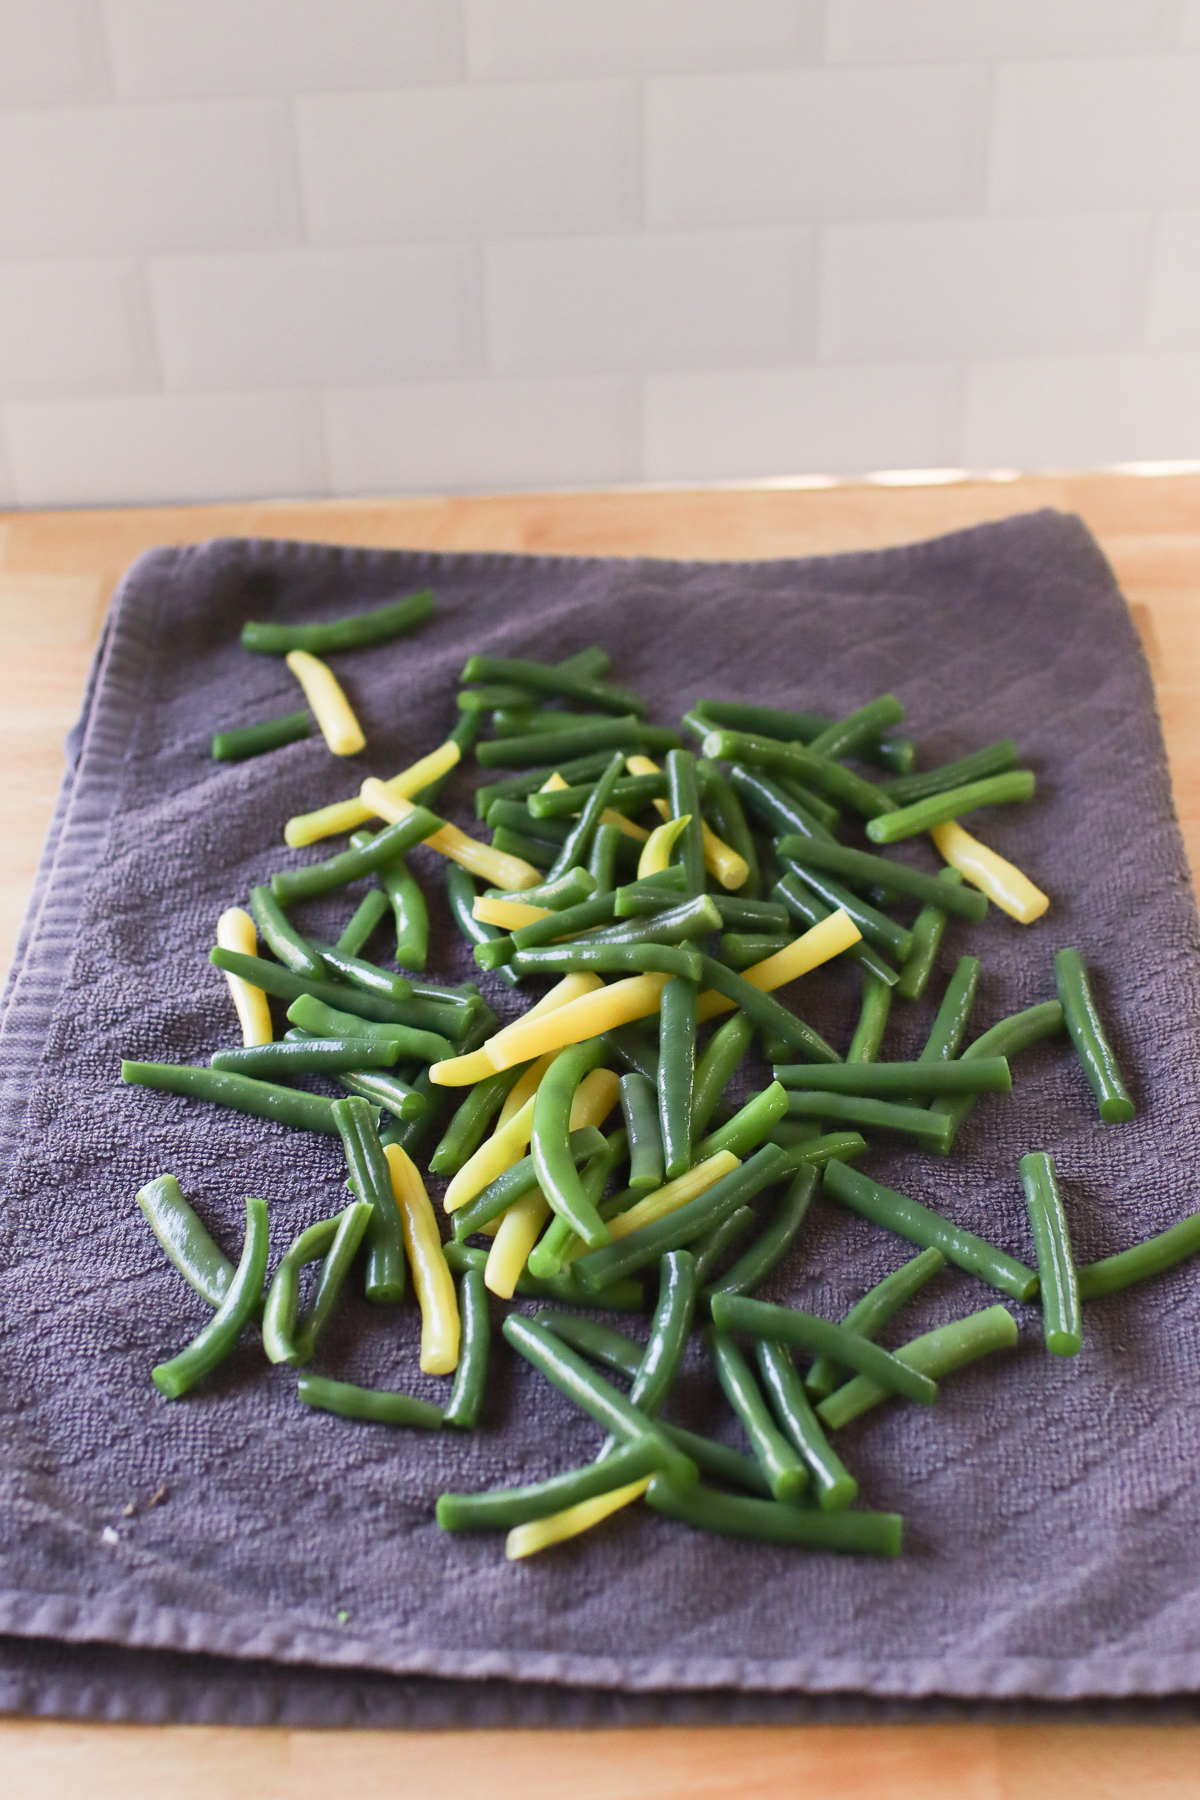
Step 4: Strain the beans from the ice water and lay them on a clean kitchen towel to dry. You can expedite this by patting them with another towel.

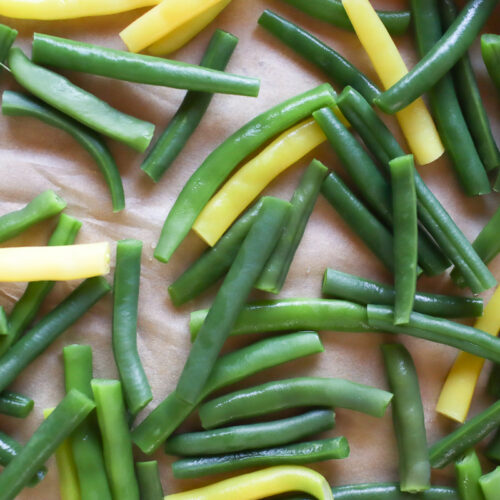
Step 5: Spread the blanched beans out in a single layer on a baking sheet lined with parchment paper and place in the freezer for a few hours.

Step 6: Once the beans have frozen, transfer them to a freezer bag and immediately return to the freezer.
Tips for Freezing Green Beans
- Be sure to remove excess air from your freezer bag to prevent freezer burn. If you use hard-sided freezer containers rather than a bag, make sure that they are very airtight.
- Don’t skip the blanching! This is important for maintaining a good texture and color in frozen veggies, and it’s particularly important in green beans.
- When cooking with frozen green beans: If you want your beans a smaller size than they were cut when frozen, simply run them under warm water for a couple of seconds. This will soften them enough to cut to size before immediately adding to your dish.

Cooking with Frozen Green Beans
Frozen green beans can be used in all of the same dishes you might enjoy with fresh beans! You can steam them and serve buttered and salted or add them to soups, stir-fries, casseroles, and more. My favorite way to use them is chopped small in a homemade minestrone soup.
The only thing to keep in mind with frozen green beans is that they will not need nearly as long to cook as fresh ones. I like to add them just a couple of minutes before I’m ready to serve the meal to keep them from getting mushy and overcooked.
When you cook with frozen green beans, don’t thaw them first. Just grab them from the freezer and transfer them straight to the pot of food!
FAQs
Nope! I flash freeze them so they don’t freeze together in a big block. I like to remove a handful at a time to add to soups and more. If you are okay with them freezing together or you know you’ll eat the whole bag in a serving, you can absolutely put the blanched green beans straight into the bag and freeze.
They do! Frozen green beans won’t have the same crunchiness that fresh green beans can have, but they do not get mushy or gross if they are properly blanched before freezing.
Yes, this is an important step in freezing a lot of veggies, and you don’t want to freeze raw green beans. The blanching process inactivates certain enzymes that cause a loss of color, texture, and flavor when the vegetable is frozen. Blanching will give you the best results in terms of how enjoyable your frozen green beans will be to eat.
Because I grew different colored varieties! The yellow ones are Gold Rush Bush Beans from Botanical Interests, and the purple ones are Royal Burgundy Bush Beans from the same company. They taste similar, but they are so fun to grow and easier to see when harvesting!
I hope you enjoy your summer green beans in the middle of winter! Preserving food is such a great way to stretch your garden benefits year-round. If you’d like to get some more freezer preservation done, check out these related posts:
Related Tutorials
- How to Freeze Sweet Corn
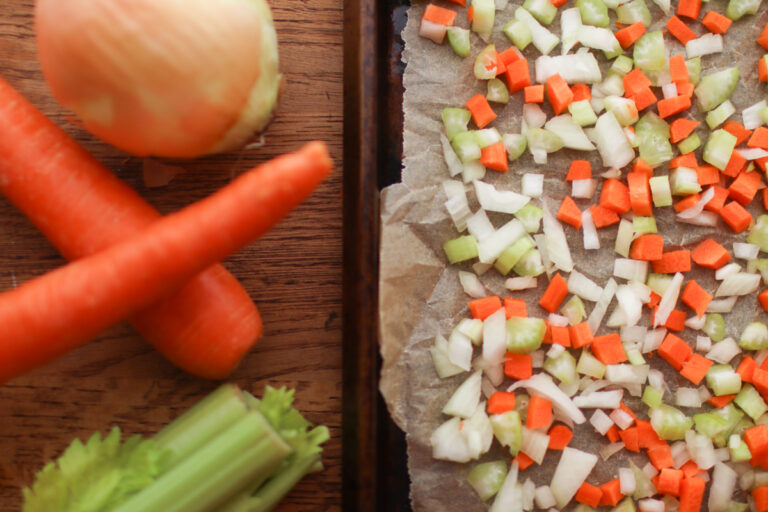
- How to Make and Freeze Soffritto
- How to Freeze Poblano Peppers
- How to Freeze Jalapeños
- How to Freeze Bell Peppers
🫛 Thanks for visiting Sprig & Spoon! If you found this tutorial helpful, I’d love it if you left a review and let me know how it went in the comments!
How to Freeze Green Beans
Equipment
- Large pot
- Kitchen towel
- Baking sheet lined with parchment paper
- freezer-safe container I use a plastic freezer bag
Ingredients
- Fresh green beans From your garden, the farmer's market, or the store
Instructions
- Trim the beans. Prepare your green beans by cutting off the ends. Some people prefer both ends removed, while others cut just the stem end. If you want your beans cut down smaller, you can also do that.
- Boil the beans. Get a large pot of water to a rolling boil and add the green beans. Allow them to boil for 2 minutes, or until the beans have a vibrant green color. You may need to work in batches — don’t overcrowd the pot.
- Prepare an ice bath: While they boil, prepare an ice bath by filling a large bowl with cold water and several handfuls of ice.
- Chill the beans. Once the beans are boiled, remove them from the water and immediately submerge them in the bowl of ice water to cool. Allow them to chill in the ice water for 5-10 minutes.
- Dry the beans. Strain the beans from the ice water and lay them on a clean kitchen towel to dry. You can expedite this so step by patting them with another clean towel.
- Flash freeze. Spread the green beans out in a single layer on a baking sheet lined with parchment paper and place in the freezer for a few hours.
- Transfer to a bag. Once the beans have frozen, transfer them to a freezer bag and immediately return to the freezer.
Notes
- Be sure to remove excess air from your freezer bag to prevent freezer burn. If you use hard-sided freezer containers rather than a bag, make sure that they are very airtight.
- Don’t skip the blanching! This is important for maintaining a good texture and color in frozen veggies, and it’s particularly important in green beans.
- When cooking with frozen green beans: If you want your beans a smaller size than they were cut when frozen, simply run them under warm water for a couple of seconds. This will soften them enough to cut to size before immediately adding to your dish.


Frozen green beans from the garden are so fun to have in the dead of winter! I plant a ton of green beans each year so I have plenty to freeze.