
Homemade Pear Sauce | No Peeling Recipe
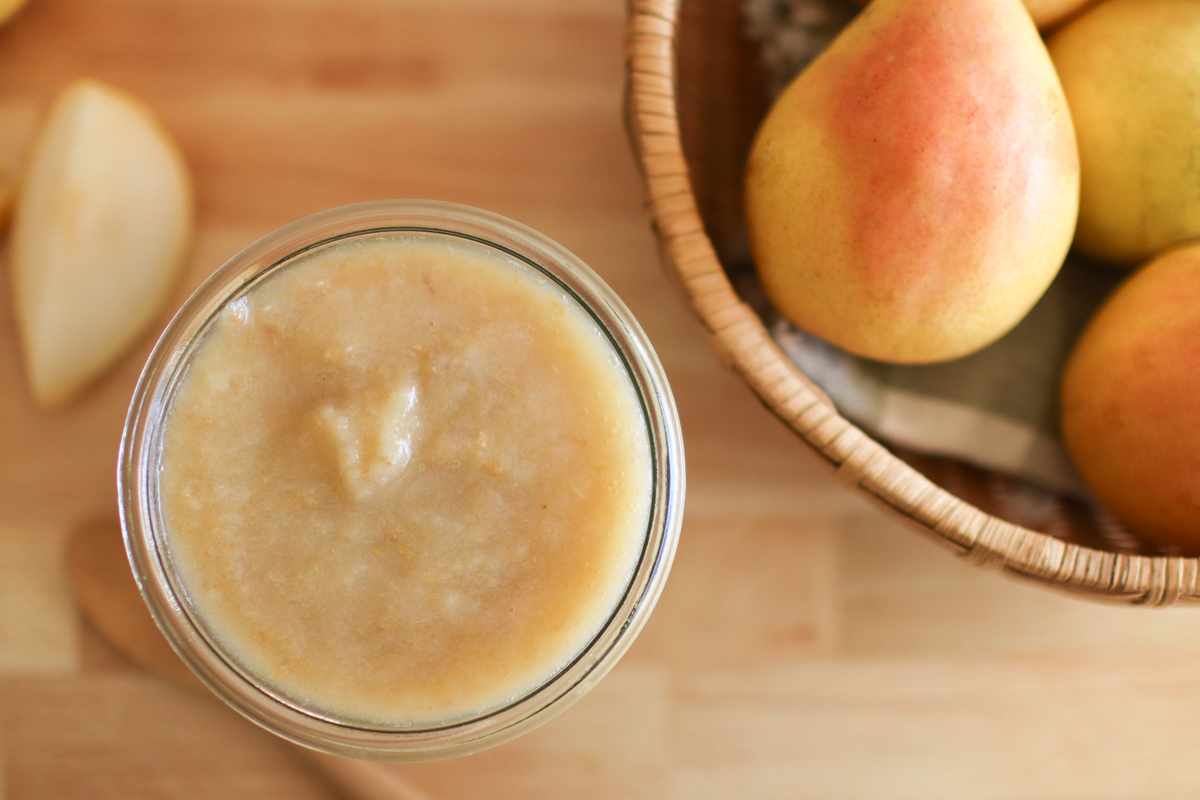
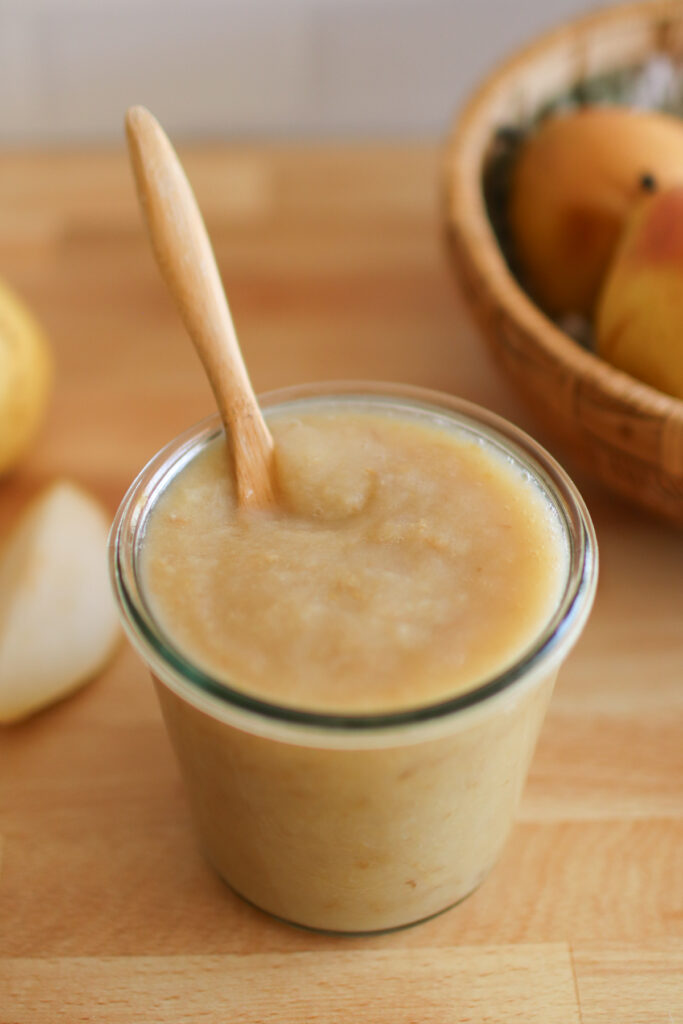
Homemade pear sauce is sweet, comforting, and packed with fall pear flavor! Simple to make and perfect for freezing, this recipe is a must-make when pear season rolls around.
Fall always brings a sadness that summer is on its way out. Saying goodbye to my summer favorites like purple basil pesto, cheesy tomato bruschetta, and fresh garden herb sauce is bittersweet.
Thankfully, fall also brings immense excitement for autumn produce, especially pears!
Pears are such a delicious fall fruit and I always want to bottle up that flavor to enjoy year-round.
With homemade pear sauce, you can do just that! This pear sauce is a delicious treat full of fall flavor and it’s the perfect way to preserve fresh pears.
Why You’ll Love It
Preserve pears: Whether you have a pear tree, get them in bulk from a farmer, or just want to enjoy this delicious fruit year-round, pear sauce is perfect for preserving lots of pears. Make a big batch and freeze it in mason jars for a delicious treat throughout the year!
Easy to make: This easy recipe is the perfect set-it-and-forget-it recipe. With only 2 ingredients, you don’t need any planning to make pear sauce.
Flavor: I seriously can’t get enough of this pear sauce! It’s full of pear flavor and so delicious.

What You’ll Need
- Pears: I’ve used Bartlett pears and Anjou pears (d’Anjou) for this recipe and both were phenomenal! You could also use bosc pears or Asian pears. Aim to use ripe pears that aren’t overly soft (that said, this is a great way to use overripe pears).
- Water
- Optional spices: If you want a spiced pear sauce, you can add cinnamon or other warm spices to your batch.
How to Make Homemade Pear Sauce

Step 1. Core the pears and roughly chop them.
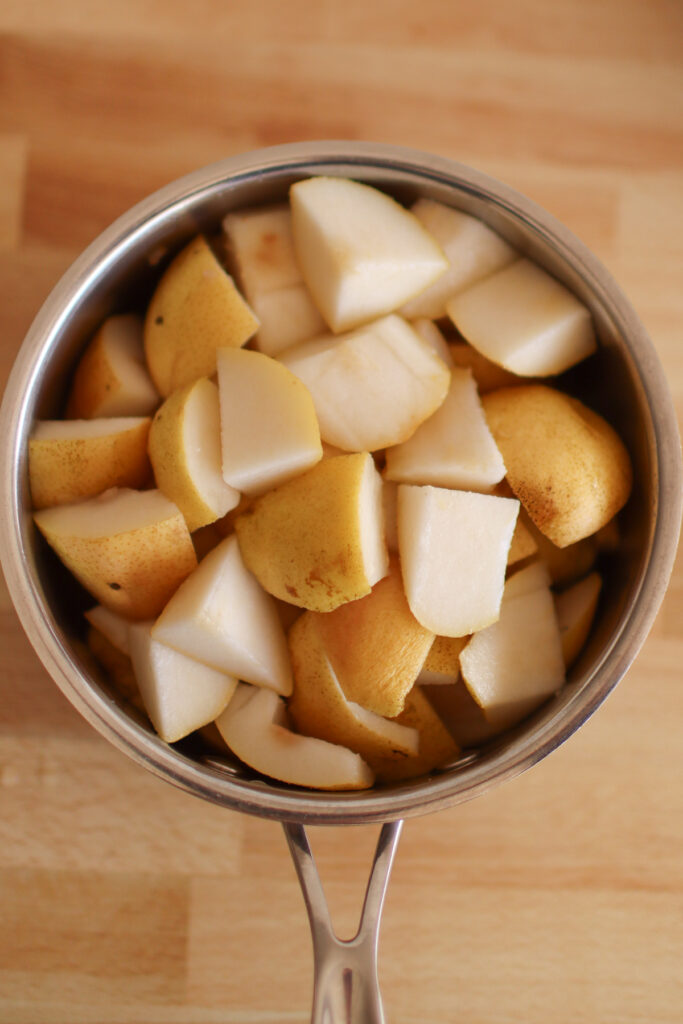
Step 2. Combine pears and water in a large pot and bring to a boil over high heat.

Step 3. Reduce the heat to low and simmer for 20-25 minutes, until the pears are very soft.
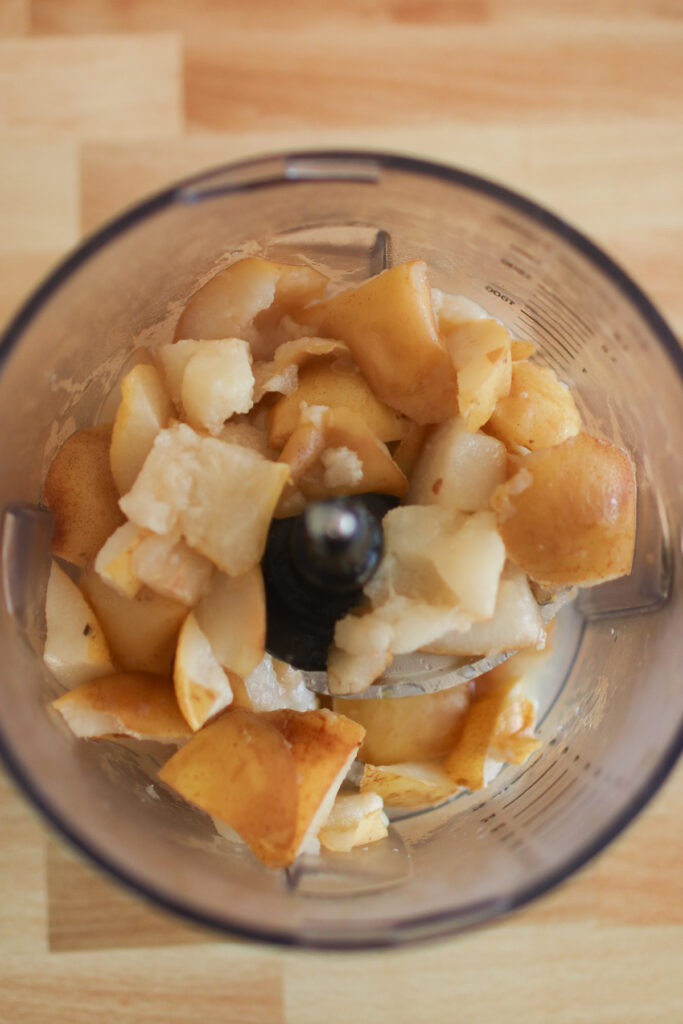
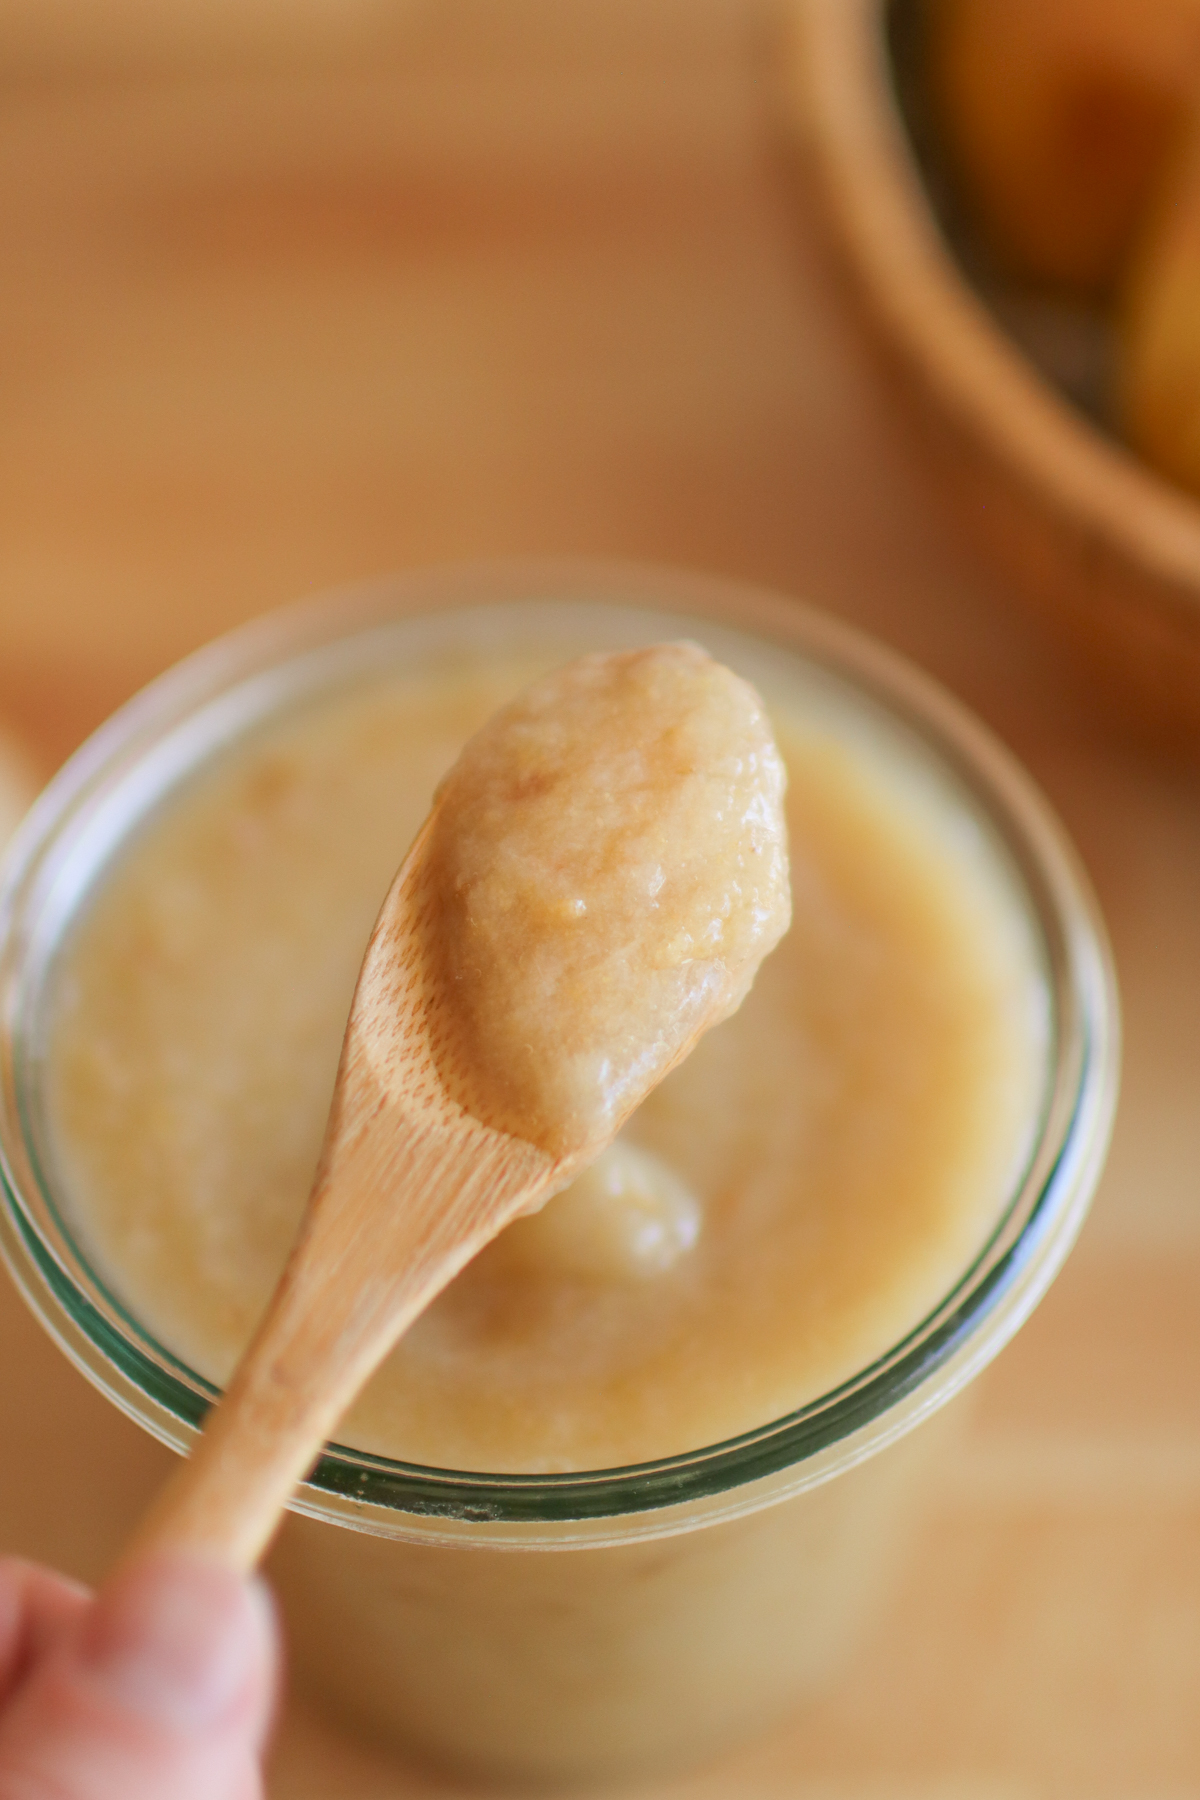
Step 4. Using a food processor, stand blender, or immersion blender, puree the pears until very smooth.
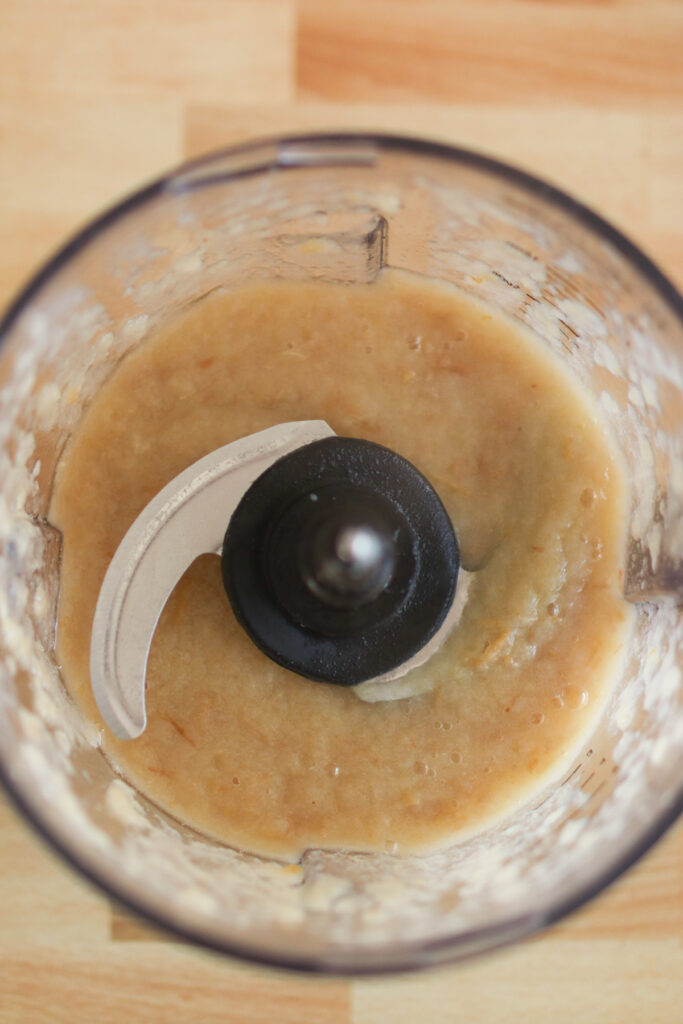
If your pears were particularly juicy, you may want to drain some of the liquid. There should be just a splash of liquid in with the pears.
Step 5. Allow to cool completely, then chill until cold. Serve cold or freeze in a glass jar with plenty of headspace.
Helpful Tips
- If you prefer a smoother sauce, you can peel the pears before simmering or process the finished pear sauce through a food mill.
- For a chunkier sauce, skip the blender and use a potato masher instead.
- If you want a thicker sauce, you can simmer it after blending to boil off some of the water content.
- Store your pear sauce in an airtight container in the fridge for up to a week. Freeze it for longer-term storage.
How to Freeze Homemade Pear Sauce
Once your pear sauce is finished, portion it into freezer-safe containers such as ziplock bags or mason jars (I use pint jars). If using jars, leave plenty of headspace (at least 1-2 inches) to prevent breakage when it freezes.
Allow your pear sauce to cool to room temperature, then transfer it to the fridge overnight.
After the pear sauce has had adequate time to chill in the fridge, move the jars to the freezer.
To further ensure the jars don’t break, remove the lids for the initial freeze. Once the pear sauce has frozen solid, you can tighten the lids back on. You can skip this step, but be warned the jars may break!
When you’re ready to enjoy the pear sauce, pull a jar out from the fridge and allow it to thaw on the counter or in the fridge. Serve cold or warm.
Uses for Pear Sauce
- Enjoy as an easy side dish for breakfast, lunch, or dinner
- Use as a warm sauce over vanilla ice cream
- Serve with pork chops
- Enjoy with yogurt and nuts for a quick snack
- Serve to your little one as easy homemade baby food
Recipe FAQs
What are the best pears for pear sauce?
I recommend Bartlett or d’Anjou pears. Perfectly ripe pears that are soft but not mushy is best. That said, this is a great way to use overripe pears!
What does pear sauce taste like?
It tastes like sweet pears! Cooking the pears brings out their natural sweetness and makes for a rich, delicious treat.
Is this recipe good for canning?
No, this recipe has not been tested for canning and I do not recommend canning it. If you want to can your pear sauce, find a recipe from a reputable source so that the acidity and process time are properly calculated.
Can I make this sweeter?
Sure! If you taste it and would prefer a sweeter pear sauce, feel free to add maple syrup, honey, or brown sugar to taste.

More Tasty Fall Recipes
🍐🌿Enjoy the seasonal delights of fall with this easy side dish! If you try this homemade pear sauce and love it, I’d love it if you come back and leave a review. Thanks for visiting!

Homemade Pear Sauce
Equipment
- Large pot
- Food processor or a stand blender, immersion blender, or food mill
Ingredients
- 12 pears about 6 pounds
- ¼ cup water
- 1 tsp cinnamon optional
Instructions
- Core the pears and roughly chop them.
- Combine pears and water in a large pot and bring to a boil over high heat.
- Reduce the heat to low and simmer for 20-25 minutes, until the pears are very soft.
- Using a food processor, stand blender, or immersion blender, puree the pears until very smooth. If your pears were particularly juicy, you may want to drain some of the liquid. There should be just a splash of liquid in with the pears.
- Allow to cool completely, then chill until cold. Serve cold or freeze in a glass jar with plenty of headspace.
Notes
- If you prefer a smoother sauce, you can peel the pears before simmering or process the finished pear sauce through a food mill.
- For a chunkier sauce, skip the blender and use a potato masher instead.
- If you want a thicker sauce, you can simmer it after blending to boil off some of the water content.
- Store your pear sauce in an airtight container in the fridge for up to a week. Freeze it for longer-term storage.
Nutrition

Pear sauce is seriously a favorite fall treat. It’s easy to make, delicious, and a great way to preserve pears!