How to Grow Microgreens
Microgreens are an easy and delicious way to pack extra nutrients into every meal. Learn how to grow your own microgreens indoors!
What Are Microgreens?
Microgreens are the very young version of edible vegetable and herb plants that are harvested when they are between two and five inches tall, after their leaves have developed. Similar to sprouts, a handful of microgreens can be tossed on a salad, sandwich, and more.
This post contains affiliate links. If you make a purchase through the links, I will earn a small commission at no cost to you. As an Amazon Associate, I earn from qualifying purchases. Read my full disclosure here.
The Difference Between Sprouts and Microgreens
When a seed germinates, it creates a sprout. Once the sprout forms roots and fully develops its first set of leaves, it becomes a microgreen. Microgreens are sown in a growing medium such as potting soil and they are cut at the soil level, leaving the roots uneaten. Sprouts are grown in a jar with just water and are eaten as soon as the sprouts emerge from the seeds, before they develop roots. Sprouts are faster and less messy to grow, but microgreens are more nutritious than sprouts. The flavor is also different between microgreens and sprouts.
Are Microgreens Healthy?
Microgreens are very nutritious. Researchers with the US Department of Agriculture conducted a study to test just how nutritious microgreens are and the results were surprising. They found that, depending on the plant, microgreens have 4 – 40 times more nutrients than those same plants fully grown. They are packed full of beneficial vitamins and phytochemicals that nourish you and leave you feeling great.
Microgreens aren’t the only vegetable you need, though. Mature vegetables fill you up and have fiber that microgreens don’t. They also add color, variety, and flavors to your plate that microgreens don’t. For these reasons, I use microgreens to add some extra nutrition to my meals. They are tasty, fun, and boost your health in a really easy way.

Why Should I Grow Microgreens?
Microgreens aren’t just incredibly nutrient-dense, they have a ton of other benefits too.
- They add a mild but delicious flavor to any dish
- Eating microgreens is a great way to get a nutrient boost in the winter with minimal indoor gardening
- Growing your own microgreens helps you use up older seeds that aren’t reliable for sowing in the garden
- They make any meal look more beautiful and colorful
How to Grow Microgreens
Microgreens are quite possibly the easiest thing you can grow. They don’t need a greenhouse, cold frame, garden, or grow lights. They require very little water, no fertilizer or compost, and they don’t grow long enough to attract any pests. All you need is a sunny window, a growing medium, a container, and some seeds. Compared to any mature vegetables, herbs, or greens, microgreens are far and above easier, especially in the winter months when growing outdoors isn’t an option for most.
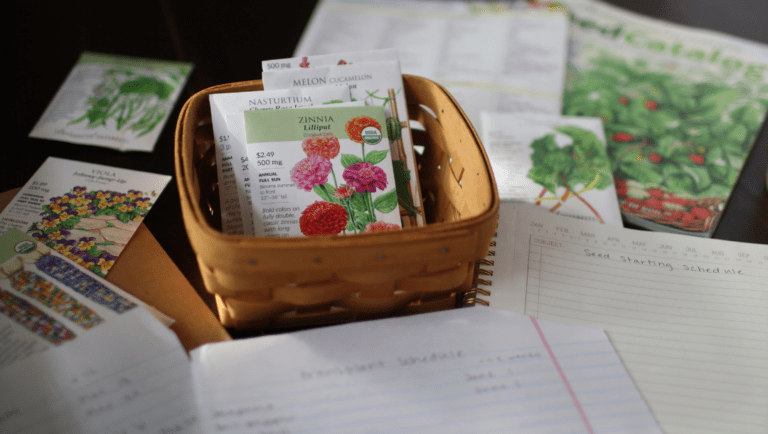
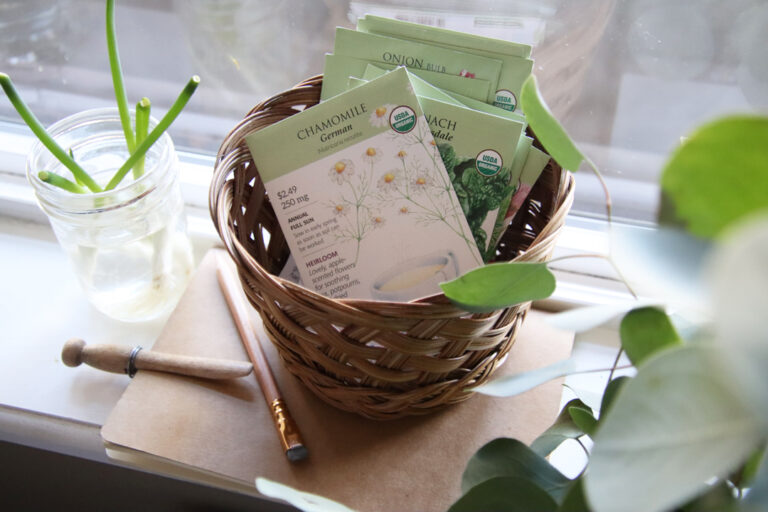
1. Choose Which Types of Microgreens You’ll Grow
Growing microgreens is my favorite way to use up old seeds that I know I won’t sow for full-grown plants! A general rule of thumb for the flavor of different microgreens is that they will taste like mild versions of their mature plants. If you like broccoli, you will probably like broccoli microgreens. If you hate arugula, you likely won’t enjoy it as microgreens. Here are a few of the most popular options if you need somewhere to start:
- Broccoli
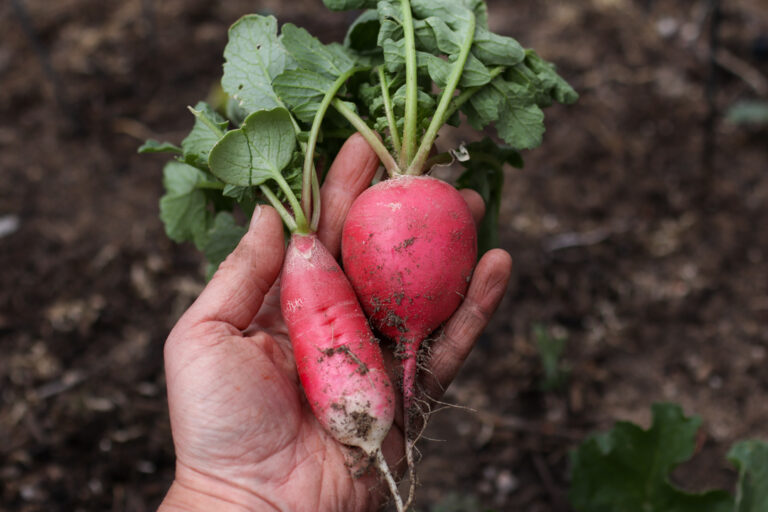
- Radish
- Spinach
- Kale
- Arugula
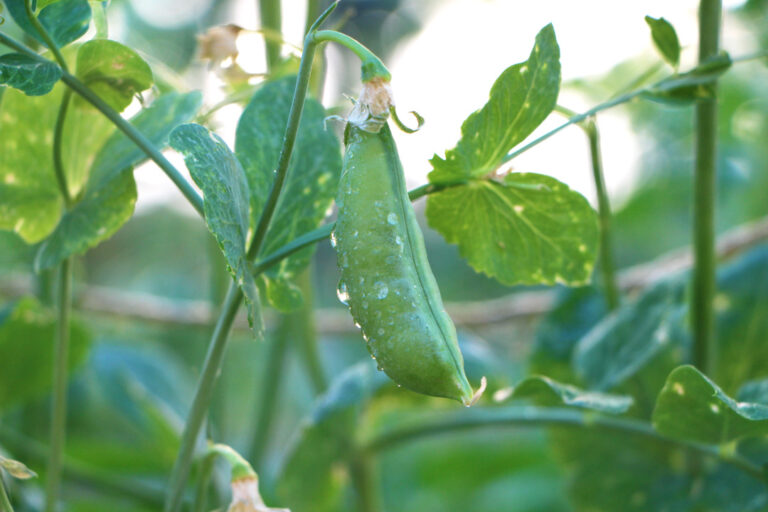
- Pea
- Beets
- Sunflowers
- Botanical Interests has a lot of fun microgreen blends that I use. Check them out here.
Note: Pay attention to the directions on the seed packages. Some seeds, such as beets and peas, should be soaked before you plant them to help them germinate more quickly!
Types of Microgreens
Below is a list of every type of microgreen that is commonly grown. Do not use any plants in the nightshade family, such as tomatoes, peppers, or eggplants as they are toxic.

2. Choose your container
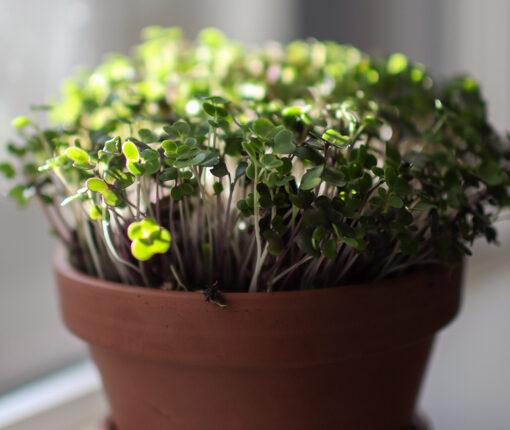
You can use just about anything for growing microgreens, as long as the container is at least an inch deep. I prefer to use shallow terra cotta pots or terra cotta drainage dishes because I like how they look, but you can use any pot, seeding tray, or reused plastic container that you have sitting around. Old takeout boxes with lids are a good choice and you can give those containers a second life. If your container is deeper than two or three inches, you may want to fill the bottom portion with rocks or gravel so you aren’t using more potting soil than needed.
3. Plant Your Seeds
Fill your container with potting soil, leaving about half an inch of space below the rim of your container. Sprinkle seeds evenly over the surface of your soil, in a single layer with little to no space between seeds. Because the plants won’t be growing very large or forming root balls, traditional spacing doesn’t matter.
Once the seeds are down, top them with a thin layer (⅛ – ¼ inch) of soil. For larger seeds such as peas, cover with more soil (up to ½ inch).
Some microgreen growers recommend calculating how many seeds you should plant for the perfect density of greens. I don’t personally do this, but if you are interested in being more exact, you can use this calculator.
4. Keep Your Seeds Moist
Once your seeds are covered with soil, spray them generously with a spray bottle until the soil is very moist. Cover your pot with a piece of saran wrap, beeswax wrap, or a lid for the container to keep the microgreen seeds from drying out. Place the pot in a warm place like a windowsill and check on them once or twice a day to ensure the soil is still moist. When the soil is looking slightly dry, remove the cover and mist heavily with the spray bottle.
5. Watch for When the Seeds Germinate
One day when you check on your seeds, you will be surprised to see sprouts popping through the soil! At this point, it’s time to remove the covering or saran wrap and let your sprouts get some room to grow.
Instead of spraying your microgreens, start watering them lightly with a watering can, teapot, or cup of water. Once the cover is off, the soil dries out too quickly with just mist.
Note: your microgreens will naturally lean towards the window in order to get as much sunlight as possible. They will still grow just fine; while legginess is a concern for seedlings that will be grown to full maturity, it isn’t for microgreens because they don’t need to become strong, resilient, full-sized plants. However, I like to rotate the pot 180 degrees once or twice a day to keep them standing upright. I find they are easier to cut and more visually appealing when they are standing upright.


6. Time to Harvest
Once your microgreens have their first set of leaves, called their “seed leaves,” they are ready to harvest if you want. You can also leave them to develop the next set of leaves, called the “true leaves.” The maturity of the microgreens is a personal preference and as you try out different types, you can determine how long to grow them to your liking.
To harvest, cut the greens right above the soil with a small pair of scissors. If you are eating the microgreens immediately, you can give them a gentle rinse and pat dry before enjoying them.
I usually cut just what I need and leave the rest growing because microgreens are most nutritious when they are freshly harvested, but you can also do one big harvest and store them in the fridge.
When all of the microgreens have been harvested, dump the roots and potting mix into your compost bin, wash the container, and start some more.
How to Store Microgreens in the Fridge
If you don’t want to harvest on an as-needed basis, cutting the microgreens early and storing them in an airtight container in the fridge is a great option. If you are storing them for later, be sure to harvest several hours after watering so the leaves are dry, and avoid washing them until right before you eat them. Any moisture in the storage container will cause them to rot quickly. Depending on the type of microgreen, they should be good in the fridge for 3 -10 days.
Growing Microgreens Without Soil
If the mess of potting soil doesn’t appeal to you, you can grow your microgreens in a grow mat instead. These increase the cost of growing microgreens, but they are very convenient and much less messy than soil. Every other step is the same, simply sprinkle your seeds into the growing mat instead of the soil and continue with the same process.
How to Use Microgreens
You can top off just about anything with a handful of fresh microgreens! While it’s best to eat microgreens raw, they can complement a variety of cold and hot dishes. Here are some of my favorites:
- Avocado toast
- Wraps and sandwiches
- Sushi
- Tacos
- Omelets
- Burgers
- Salad
- Stir-fries
- Fried rice
- Garnish for dips
- Pasta