
Spring
Celebrate spring emerging with plenty of seasonal ingredients! The theme of this season is ‘fresh,’ and we are highlighting all of the best spring produce, like chives, asparagus, greens, radishes, and strawberries.


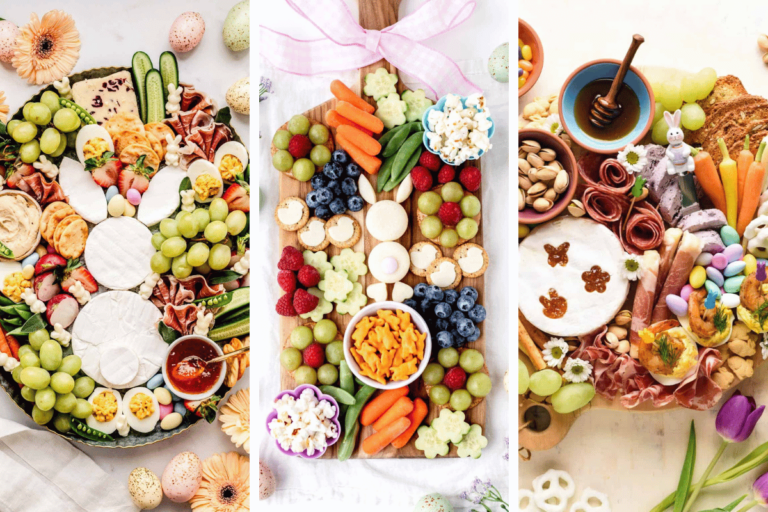

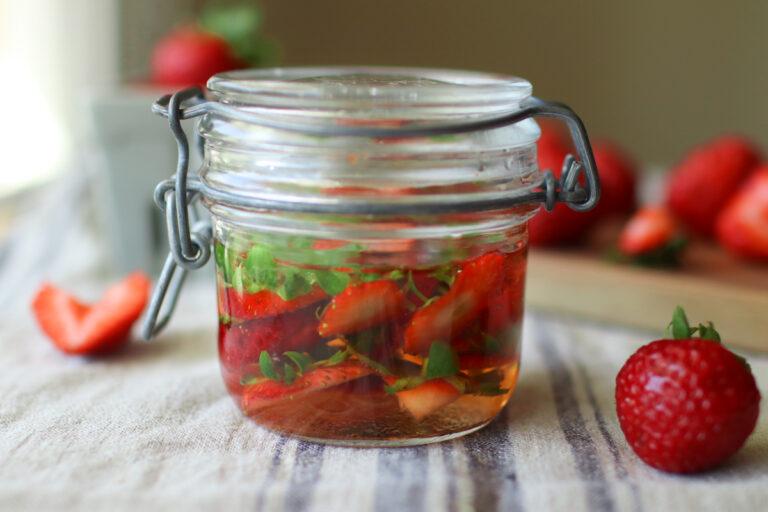
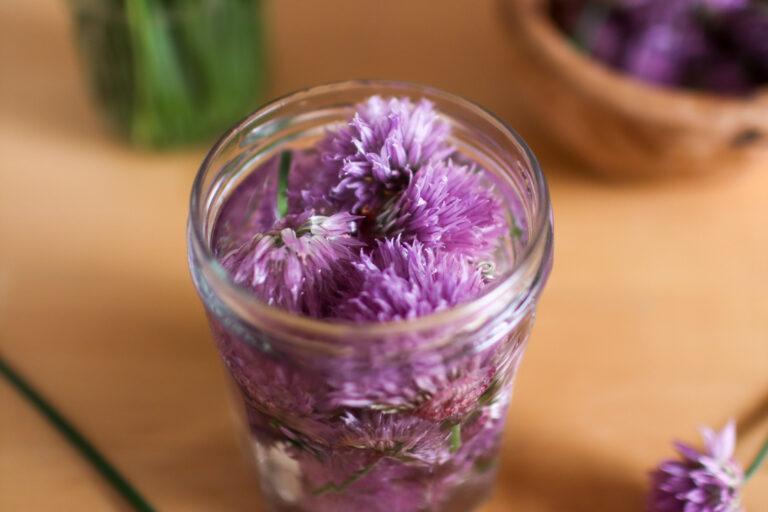
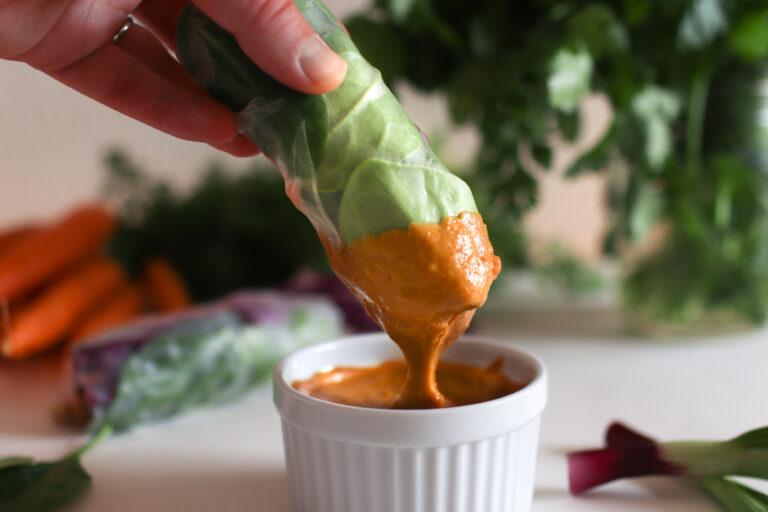
Celebrate spring emerging with plenty of seasonal ingredients! The theme of this season is ‘fresh,’ and we are highlighting all of the best spring produce, like chives, asparagus, greens, radishes, and strawberries.