
Fermented Red Cabbage: Easy Homemade Sauerkraut Recipe
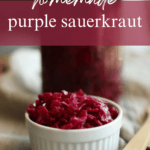
This simple fermented red cabbage is tangy, versatile, and great for your gut. Preserve your cabbage and have delicious purple sauerkraut for hot dogs, sandwiches, and sides with just a few simple steps.

What is Lacto-Fermentation?
There are a few different types of fermentation, one of the most common being lacto-fermentation. While it sounds like it has to do with milk or lactose, this is not the case. This type of fermentation occurs when bacteria break down the sugars in food and form lactic acid. Popular lacto-fermented foods include fermented pickles, kimchi, and sauerkraut.
Reasons to Love Homemade Sauerkraut
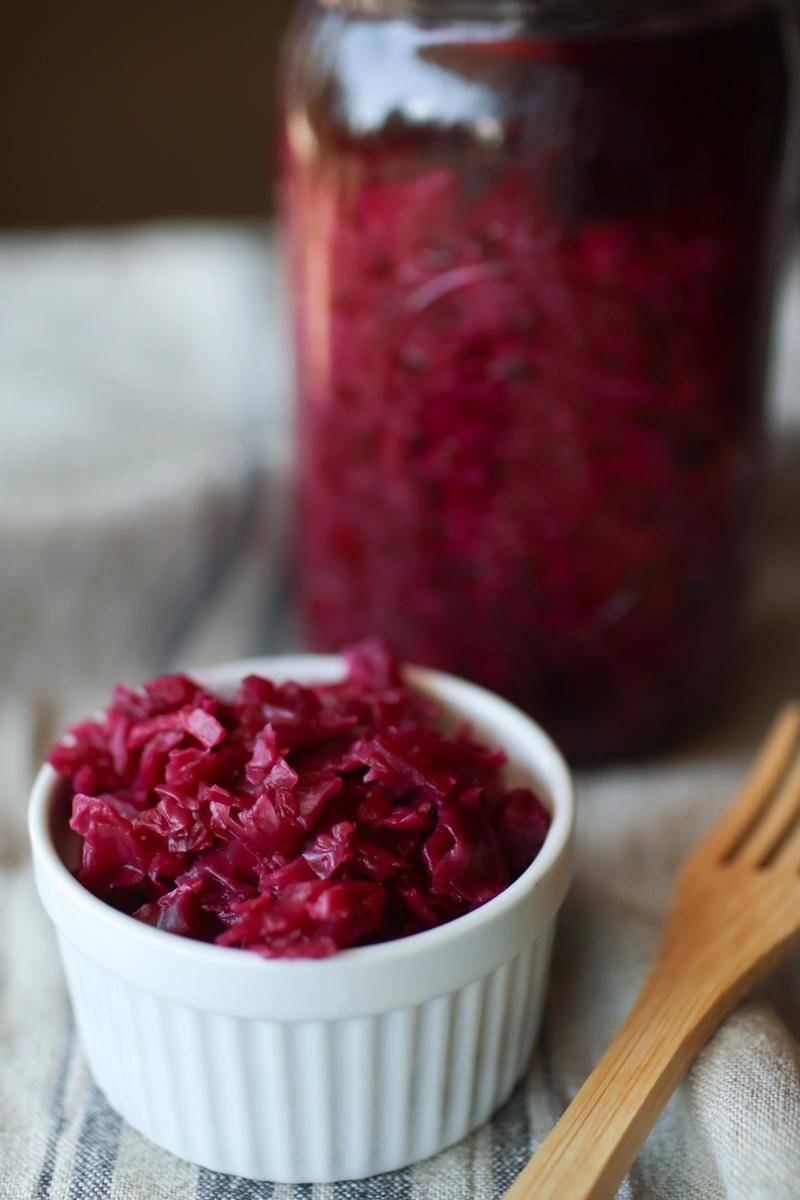
It tastes way better than most store-bought ‘kraut. A lot of store-bought sauerkraut is cooked down in the canning process, making the flavor and texture lackluster. Making your own sauerkraut preserves the cabbage through the fermentation process, making it as close to fresh as possible. You’ll love the tangy flavor of this fermented red cabbage.
It’s loaded with gut benefits. Fermented foods are full of beneficial bacteria that can feed your gut microbiome.
It preserves cabbage the old-fashioned way. The amazing thing about lacto-fermented food is that it has a fantastic cold shelf life. Fermented food is safe to store at room temperature for some time, though it will continue to ferment. In the refrigerator, it is good for several months! This is amazing compared to the 1-2 week life span of fresh cabbage.
This post contains affiliate links. If you make a purchase through the links, I will earn a small commission at no cost to you. As an Amazon Associate, I earn from qualifying purchases. Read my full disclosure here.
Ingredients
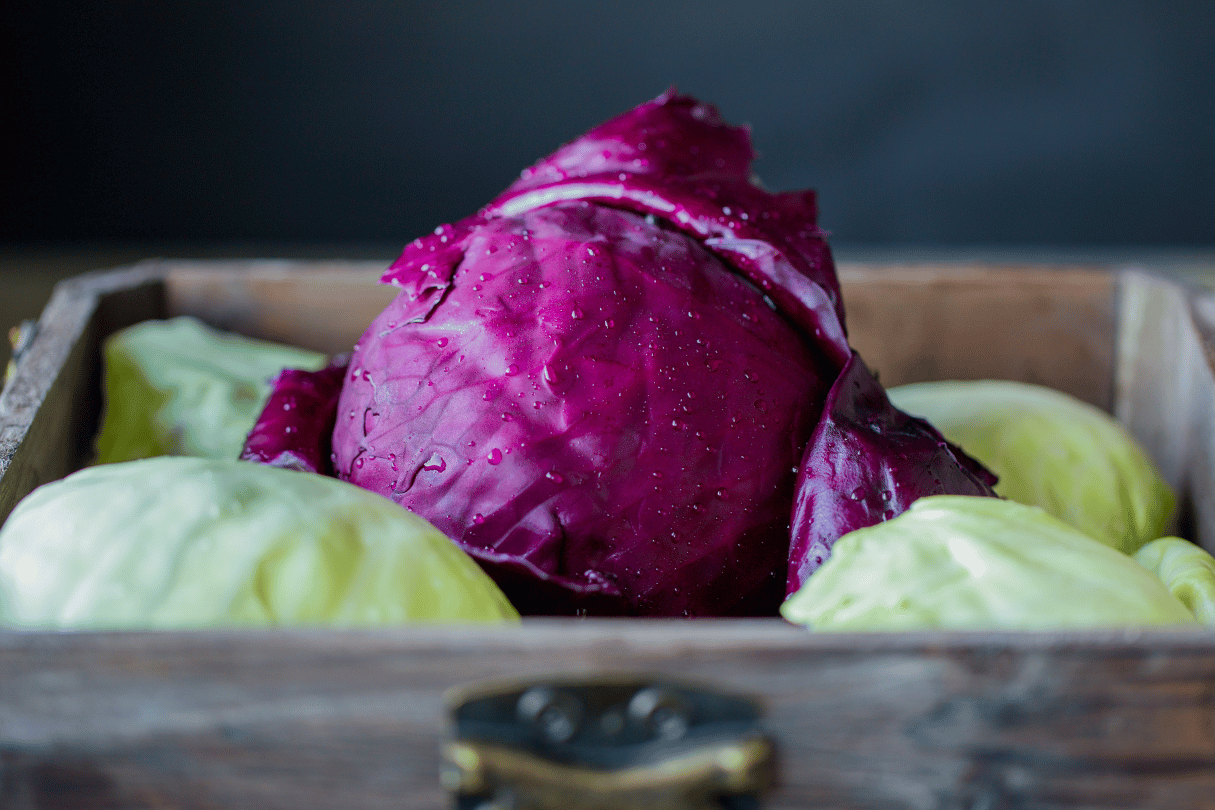
- Red Cabbage: Choose an organic cabbage if possible.
- Salt: For best results, choose a high-quality salt with minerals. Redmond real salt, pink Himalayan, or pickling salt are ideal.

Special Equipment
Fermenting does require a few pieces of special equipment and there are a few more that make the recipe easier but are not required. Below is what you’ll need with alternative options. If you want to make it easy on yourself, I love this Ball fermentation kit. With the kit, all you’ll be lacking is a sauerkraut pounder and a scale.
A scale: While you can make sauerkraut with volume measurements, I recommend measuring your ingredients by weight in grams to be the most accurate and prevent moldy sauerkraut.
Fermentation jars or a fermentation crock: This is the container in which your cabbage will ferment. You can use regular glass mason jars or a ceramic crock.
Fermentation lids: If you are fermenting in jars, you will want special fermentation lids. They have one-way valves that allow gases produced during fermentation to escape without allowing air in. I prefer these plastic lids from Ball, but these silicone lids are also a common choice.
Fermentation weights or springs: You will need something to hold your cabbage under the brine to prevent mold. I recommend springs, but glass weights also work. I’ve had luck in the past using river rocks that I boiled to sanitize them, but it is definitely more challenging than the springs or weights.
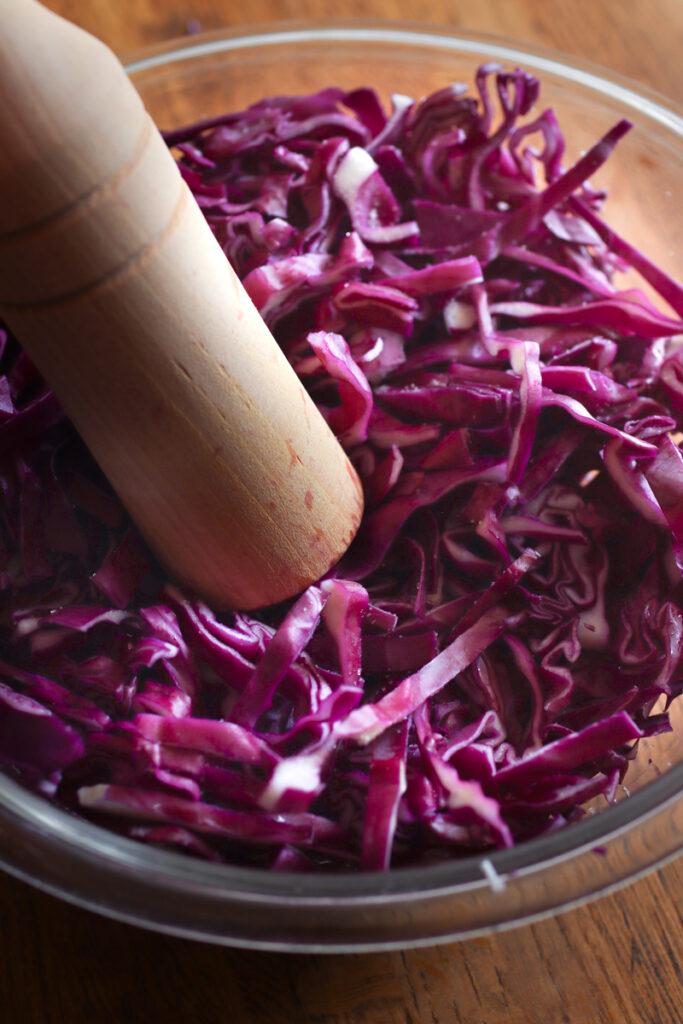
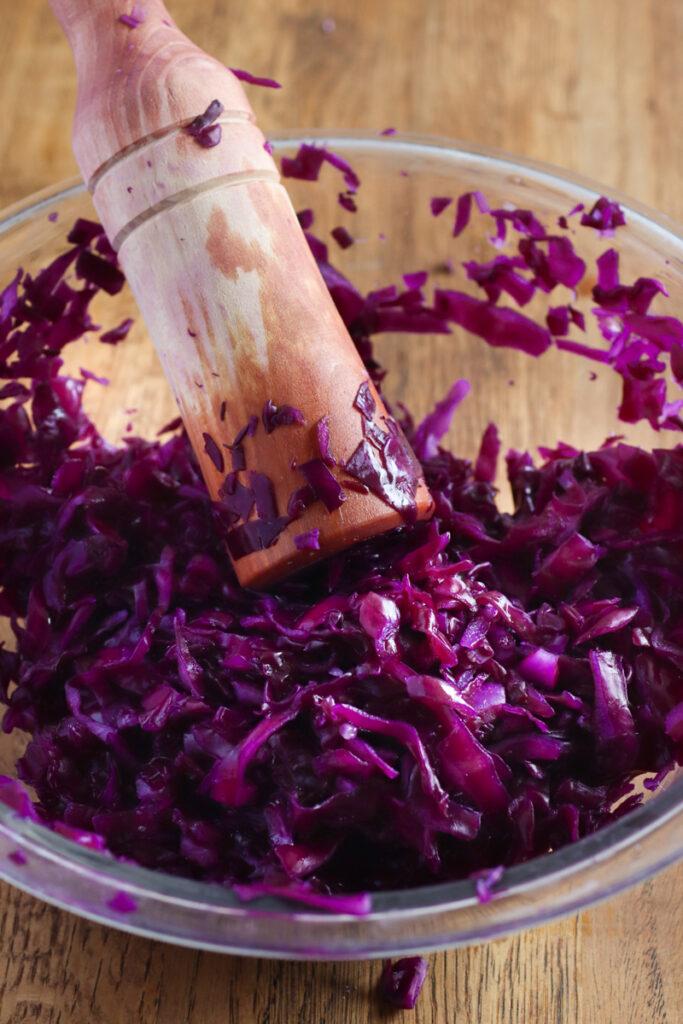
A sauerkraut pounder: You can use a wooden spoon or just your hands, but a sauerkraut pounder makes this process much easier and gentler on your hands.
Calculating the Salinity for Sauerkraut Brine
Using the correct amount of salt is critical for making fermented cabbage or any fermented vegetable. The salt prevents bad bacteria from growing while allowing beneficial bacteria to flourish, which is what preserves fermented food and makes it great for your gut.
The salinity requirement for a brine depends on what vegetable is being fermented. The salt concentration for fermented cabbage is 2.5%.
This means that for every 100 grams of cabbage, you will add 2.5 grams of salt. You can use this percentage to calculate the salt needed for any amount of cabbage, or you can follow the recipe below.
How Long to Ferment Sauerkraut
As you ferment cabbage, the flavor and texture will change. The ideal range for fermenting sauerkraut is 3-4 weeks, but this will vary based on the temperature of your house.
I recommend tasting a bit after 21 days, then every couple of days after that to determine when it’s finished fermenting and ready for the fridge.
How to Store Sauerkraut
Sauerkraut should be stored in the refrigerator to drastically slow down the fermentation process and preserve the flavor. Once your sauerkraut is finished fermenting, I recommend removing the spring or weights, tightening an airtight lid onto the jar, and storing it in the fridge. Sauerkraut will keep for several months in the fridge in an airtight container.
Expert Tips
- Give your cabbage adequate massaging and time to release its juices. This will ensure there is enough brine to completely cover the cabbage, which is important to prevent mold.
- That said, if you can’t get enough juice out of the cabbage to cover it, you can make a bit of extra brine by mixing 200 grams of warm water with 5 grams of salt. Allow the salt to dissolve, then let the brine cool to room temperature.
- Experiment with how thick you like your cabbage. Some like it thinly sliced on a mandoline, while others like it closer to ¼- or ½-inch pieces. Thick slices will be much crunchier after fermenting, while thin slices will be more tender.
- If you use the food processor to cut your cabbage, be sure to put it on the slice function, not the shred function. This will give you better pieces for sauerkraut, while shredding will give you tiny pieces better suited for coleslaw.
- Follow the recipe closely. The most important things to have a successful ferment are using the correct amount of salt and ensuring the cabbage is fully submerged under the brine.
Optional Add-Ins
This red sauerkraut recipe is delicious as written, with just cabbage and salt. However, if you want to get creative with it and try different flavors, there are several things you can add to your ‘kraut to give it an extra pop of flavor.
- Juniper berries
- Caraway seeds
- Bay leaves (these will also help it stay crunchier!)
- Garlic
- Dill
- Coriander seeds
- Other veggies, such as carrots, beets, or celery.
It’s important to note that if you add other vegetables, you will need to include them in the weight on which you base the amount of salt. If you were to add carrots to this recipe, you would want to substitute part of the weight of the cabbage with the same weight of carrots or increase the amount of salt to maintain a 2.5% salt concentration.
Finding Mold in Your Sauerkraut
Finding mold in your jar of sauerkraut is very rare if you follow the instructions properly. Using the correct amount of salt and the cabbage being fully submerged under the brine will prevent mold most if not all of the time.
It does happen, however, and it’s important to know when it’s bad. You may notice a white frothy substance or a smooth, powdery white substance forming on top of your sauerkraut. This is probably kahm yeast and is totally harmless.
If you notice a colored substance, hairy texture, or a funky smell (more funky than regular sauerkraut), it’s best to discard the sauerkraut and try again. While this is discouraging, it happens sometimes, and it’s better to be safe than sorry.
Uses
There are so many delicious uses for sauerkraut! I try to add it to a meal every day to ensure I’m getting a dose of gut-healing bacteria each day. Here are some of my favorite uses for homemade fermented red cabbage:
- Top hot dogs. This elevates the flavor of a hot dog so much! The tangy flavor and crunchy texture go perfectly with dogs and mustard.
- Use it as a simple side dish. Serve sauerkraut plain with any main dish. It’s the easiest veggie side dish to have on hand that tastes great every time.
- Serve with eggs. It sounds weird, but sauerkraut and eggs are delicious together.
- Make a Ruben. This is one of my all-time favorite sandwiches, and they are so much better with homemade ‘kraut. Be sure to pile it high with the sauerkraut; don’t be stingy with it.
More Fermented Recipes

Purple Fermented Cabbage (Sauerkraut)
Equipment
- digital scale
- Sauerkraut pounder optional
- Mason jar
- Fermentation weight or spring
- fermentation lid
Ingredients
- 800 grams red cabbage shredded
- 20 grams salt*
Instructions
- Remove the outer leaves of the cabbage head and slice it. You can slice it by hand with a sharp knife and cutting board or run it through a food processor with the slicing disk. How thick to slice it depends on your personal preference, but I usually aim for ⅛ -¼ of an inch.
- Put your shredded cabbage in a large bowl and add the salt. Using clean hands, massage the cabbage for about 5 minutes until it is tender and juicy and the salt is dissolved. Use a sauerkraut pounder or a wooden spoon to make this task easier.
- Allow the cabbage to sit for 30-60 minutes to release more juice.
- Continue to massage the cabbage for another 5-10 minutes.
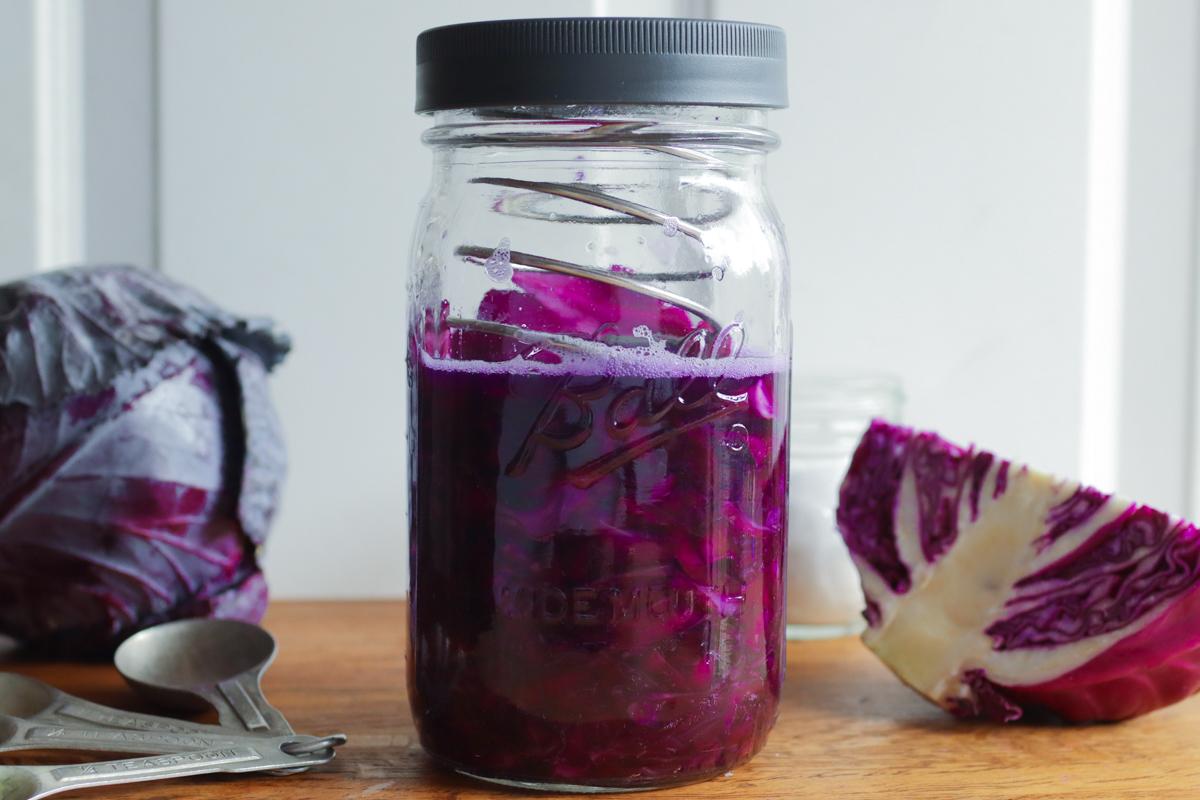
- Transfer the cabbage and its brine into a wide mouth mason jar. Scrape down every piece of cabbage so they are covered in the brine, then lay a whole cabbage leaf over the top to secure everything.
- Place a fermentation weight or spring onto the cabbage, pressing down so the brine completely covers the cabbage. This will help to prevent mold.
- Secure a fermentation lid onto the jar and place it in a dark place out of direct sunlight. Allow the cabbage to ferment for 21-28 days.
- After 3 weeks, give the sauerkraut a taste test. If you like the flavor, transfer it to the fridge. If you want it to taste tangier, allow it to ferment for another week or so.


Saurkraut is my favorite, and this purple sauerkraut has so much flavor! If you’ve never tried kraut with red cabbage, you’ve got to try it!