How to Plan Your Vegetable Garden for 2026: Full Guide
Learn everything you need to know to have a beautiful and successful first garden, including how to plan, design, build, and plant.
If you’re new to gardening, the thought of starting your own home garden can seem a little daunting. There are a lot of factors to consider, knowledge to gain, and steps to take before you are harvesting fresh, beautiful produce from your backyard.
Don’t let the overwhelm stand in your way.
With a little careful planning and some great resources, you can create the perfect garden for growing your own vegetables and herbs.
Garden planning is the critical first step in creating a productive backyard garden. In this blog post, I’ll take you through the garden planning process step-by-step. I’ll also go over some essential tips and tricks for planning your first home garden.
Whether you’re a seasoned gardener or just starting out, I’ll help you create the perfect garden for growing your own fresh, healthy produce.
So let’s get started and learn how to plan a garden that will thrive and provide you with delicious, nutritious food for years to come!
How to Plan a Garden: Quick Guide
Maybe this is your first garden or maybe you’re progressing from a small kitchen garden to a large production that will grow most of your own produce. Either way, there is a lot to do to plan your garden effectively.
I always say that, while my last frost is in May, my gardening season starts in January because that’s when the planning (usually) begins.
Here are the steps to planning a garden:
- Analyze your growing space
- Get a garden planner
- Choose garden beds
- Map it out
- Plan what you want to grow
- Decide where everything will go
- Figure out how you will grow everything
- Make a planting schedule
- Purchase seeds
Keep reading to learn how exactly to plan your garden for your best growing season yet!

When to Plan Your Garden
The best time to plan your garden is as soon as possible! Garden plans are best made well before you start any seeds or prep any garden beds.
Taking a bit of time to lay out proper plans will prevent overwhelm, overplanting, and will ensure you provide your plants an appropriate growing environment.
Diving in with some seeds and a watering can sounds fun and adventurous, but I’ve found that most first-time gardeners who use this method are unsuccessful and discouraged. Start your garden the right way by following the steps in this post!
Analyze Your Growing Space
If this is your first garden, you need to assess the growing space you have.
How much square footage do you have? How much light does it get?
Every garden area has a few basic needs:
- A water source
- Well-draining soil with lots of organic matter
- Adequate sunlight
Most vegetables grow best in full sun, which is six or more hours a day during the growing season. If some of your space gets less than that, you may want to consider relocating to a space with full sun. If part of your garden is shadier, make note of that so you can plant shade-tolerant plants in that area.
Other important factors to consider:
- Do you need a fence to keep pets out?
- What is your soil like?
- Does your area get a lot of hail?
Determining Your Hardiness Zone
An important part of analyzing your space is knowing what your hardiness zone is.
The last frost date refers to the average date on which the temperature drops below freezing for the last time in the spring. This date will help you decide when you can plant frost-sensitive plants outside.
To determine your last frost date, you will want to determine your USDA hardiness zone. Hardiness zones are set based on your average minimum temperature for the year (how cold it gets in the winter).
You can find out which hardiness zone you are in by going to this link and plugging in your zip code.

This post contains affiliate links. If you make a purchase through the links, I will earn a small commission at no cost to you. As an Amazon Associate, I earn from qualifying purchases. Read my full disclosure here.
Get a Garden Planner
You can sit down with a stack of paper and do all of these steps on your own if that’s how you prefer to do it! However, I’ve found the best way to get your thoughts organized and avoid missing any important pieces of information is by using a garden planner to lay out your garden plans.
You don’t have to spend a lot of money on a garden planner; in fact, you don’t have to spend any money! I have a free garden planner that you can download and print out. It covers everything that I think is important in garden planning. Download it below and if you would like further instructions on how to use it, you can read the full blog post here.
Choosing Garden Beds
If you are starting from scratch, you will need to consider what kind of garden beds you want to grow a garden in. There are a lot of different options for garden beds and each choice has pros and cons. The primary options are:
Raised Beds
A raised bed is any sort of garden bed that extends above ground. Raised beds are large containers that hold soil to grow a garden in.
Some raised beds are just a few inches tall and the roots of your plants grow down into the ground. Others are waist high and have complete separation between the ground and the raised bed.
Raised beds can vary in size and material. Most raised beds are made from wood, metal, or concrete retaining wall bricks.
The pros of a raised bed garden are:
- More control over the soil: Because you fill raised beds, you have complete control over the soil. If your native soil is not optimal for growing because it’s clay, rocky, compacted, etc, a raised bed allows you to start off with an ideal soil mix for gardening.
- Less weeds: Raised beds are filled with fresh soil that does not contain seeds or rhizomes of weeds. While weeds will still exist, raised beds can be a sort of fresh start for a gardener who has intense noxious weeds in their yard.
- Accessibility: For a gardener who struggles with bending down to work in the beds, a waist-high raised bed is a great accessible option.
- Visual appeal: Many gardeners install raised beds in their yard because they like how it looks. Raised beds can add an attractive element to your yard and garden design.
The cons of a raised bed garden are:
- Cost: The materials for raised beds can be quite expensive and a premade raised bed costs even more.
- Time: Depending on the design of your raised beds, building or assembling them may take considerable time.
- Lifespan: Wooden raised beds will need replacing every ~10 years. You can use a nontoxic stain to extend the life of the wood, but eventually it will rot and the beds will need to be replaced.
In-Ground Garden
An in-ground garden is exactly what it sounds like: growing plants in the ground. Though it seems simple, it isn’t as straightforward as it seems.
The native soil in many areas is not ideal for growing a vegetable garden, so it has to be amended with compost, worm castings, and other amendments. Existing plants also need to be removed from the space.
Many gardeners will till their soil the first year to loosen it up and incorporate amendments. While I don’t recommend routine tilling, it is a helpful practice for starting a new garden bed.
Other gardeners utilize the lasagna or hugelkultur methods of smothering weeds and adding compost on top of the existing soil.
When you design in-ground beds, be sure to incorporate stepping stones or pathways so you are not stepping in the garden when harvesting or working in it. Pathways can be made of wood chips, breeze, rocks, ground cover, and more.
Pros of an in-ground garden:
- Inexpensive: Compared to the other garden options, growing in the ground is certainly the most affordable. While you may need to spend some money on compost, no other materials are needed.
- Build soil health: There is a satisfaction that comes to building soil health in a space. Each year you see more life in the soil and your plants grow better than the previous year. In-ground beds draw carbon out of the atmosphere and sequester it in the soil. This is huge in the fight against climate change. You can read more about building soil health in my article about regenerative gardening.
Cons of an in-ground garden:
- May require soil testing: To ensure you have the best garden soil possible, it is recommended to get a soil test so you can know the soil type and any deficiencies it may have. Doing this allows you to amend the soil properly. I have had luck not getting a soil test and simply adding compost and mycorrhizae to my native soil.For best results, however, definitely get a soil test through your county extension office.
Container Garden
A container garden is a garden made up of potted plants. Most garden plants can grow well in pots as long as the pots are adequately sized.
Container gardens are ideal for gardeners who are renting their home, want a quick and temporary set-up, or have a very small garden space. I share more about container gardening and how to garden in a small space in my blog post about growing with limited space.
The pros of a container garden are:
- Minimal set-up: Filling the pots with soil is much quicker than building a raised bed or creating an in-ground bed.
- Transportable: Container gardens can be moved as needed. This makes them a great option for anyone who may be moving mid-season or a gardener who isn’t yet sure where they want to create a permanent garden.
- No permanent changes: If you live in a rental property and are not allowed to make changes to the yard, or you simply don’t want to invest the time and money, container gardens are the perfect solution.
- No “ground” needed: Container gardens are ideal for those who want to garden but only have an apartment balcony. You don’t need any land to grow a container garden!
The cons of container gardens are:
- Cost: Pots and potting soil are not necessarily inexpensive. The soil needs to be changed every year and the costs can add up.
- No soil health: In containers, the soil is not alive as it is in the ground. Fertilizer is needed, plants are not as resilient, and each year you have to start from scratch. This is not a reason not to grow in pots, but a consideration for doing it long term.

Map it Out
Make a map of your garden space so you can easily plan where each plant should go. You can make it perfectly mapped and to scale on graph paper or just a rough sketch depending on what works best for you. Having a record of your vegetable garden layout will also help you rotate your crops next year!
Plan What You Want to Grow
Now that you know how much space you have available, you can decide what to plant and how many of each plant you’ll have.
Create a list of plants that you’d like to grow. Include everything; you can reduce the list as needed in the next step.
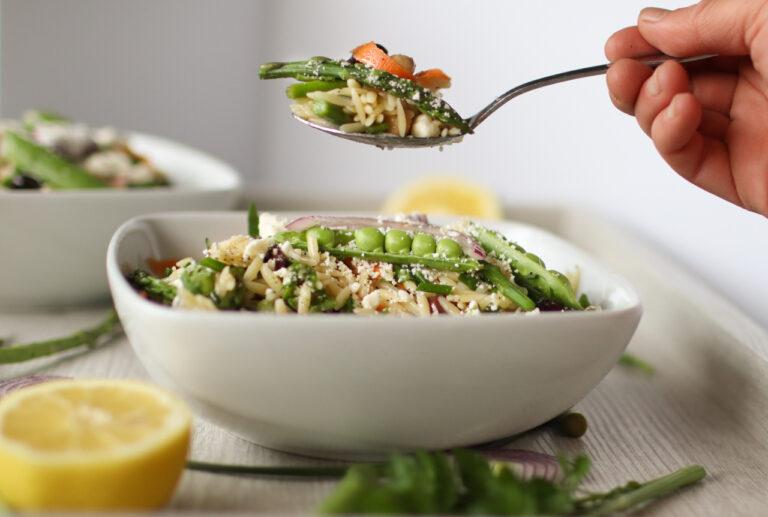
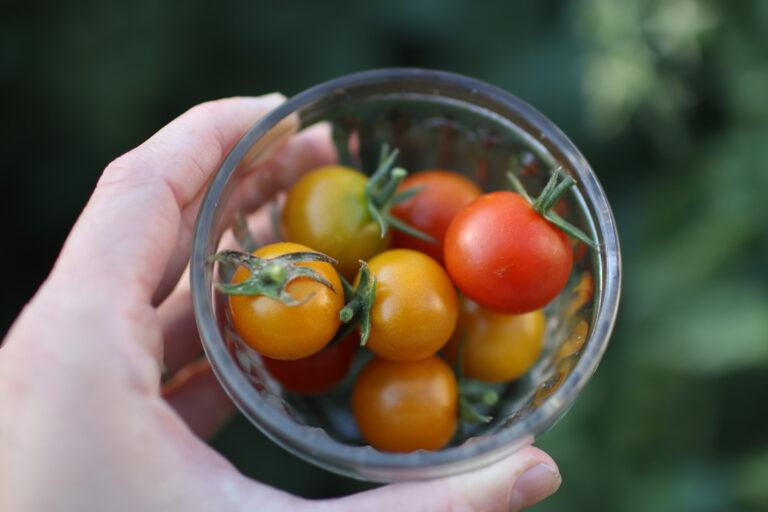
If you aren’t sure where to begin, I would encourage you to choose vegetables that you already enjoy eating. It is the most rewarding to grow vegetables that you actually like and you are less likely to waste your harvests. If you find yourself purchasing a lot of tomatoes and cucumbers, focus most of your energy on growing those.
If you want to take the safe route, I have a list of the easiest vegetables to grow for beginning gardeners. All of those plants are the most likely to give you a big, successful harvest in your first year!
Don’t forget to include herbs and flowers you’d like to grow alongside your vegetables.
A Note on Big Gardens
If you have a large garden, I would encourage you to fill parts of it with low-maintenance, long-season plants so your garden isn’t unmanageable.
Low-maintenance plants take a long time to grow, don’t require consistent harvesting, and don’t necessarily need pruning or other regular upkeep.
The best low-maintenance plants to fill a space are:
- Winter squash – pumpkins, butternut, delicata, or acorn squashes
- Tubers such as potatoes and sweet potatoes
- Bulb Onions
- Cabbage
- Melons

Decide Where Everything Will Go
Now you can fill in the map you made earlier with specific plant locations. Here are a few considerations as you plan that:
- Rotate your crops: If this isn’t your first garden, look back on your garden journal to remember where everything was planted last year. Try not to grow any plant family in the same place twice, taking special care to rotate nightshades (tomatoes, potatoes, peppers, and eggplant). Crop rotation minimizes the spread of fungus and disease.
- Consider companion planting: You may want to try companion planting, which is pairing vegetables and herbs that help each other grow. I do not personally do this, but I know lots of gardeners who do. You can learn more about that here.
- Use proper spacing: Every plant has a recommended amount of space that it needs to grow well. When the plants are small, the spacing seems extreme. They will fill in, though. Overcrowded plants are susceptible to disease and pests, so don’t ignore spacing suggestions.
- Consider height and light: As you plan the layout of your garden, make sure that you are placing tall plants, such as corn, pole beans, and tomatoes, on the north side of each bed. You don’t want your tall plants to shade out the shorter plants. There are exceptions to this, however. Strategically placing cool-weather plants like lettuce and radishes in the partial shade of taller plants can help them grow throughout the summer months when it would normally be too hot.
Figure Out How You Will Grow Everything
Now it’s time to make a plan for how you’ll get these plants. This means deciding what you’ll start indoors, what you’ll direct sow, and which plants you’ll purchase as seedlings (young plants.)
There are two different ways you can start plants from seed:
- Direct sow: This means planting the seeds directly into the ground in the spot that you want the plant.
- Start them indoors: This means planting the seeds into seed starting trays or soil blocks then transplanting the seedlings into the garden. This method is often done to give plants a head start growing before the outside temperatures are warm enough for them. An alternative to starting the seeds indoors is purchasing seedlings from a nursery.
Gather the list of what you want to plant and the quantities. Next to each one, write down if it’s recommended that you start it indoors or direct sow.
How to Decide Which Method to Use
Plants with roots that are sensitive to disturbance are usually best started directly in the ground.
Plants that need a long time to grow and/or are sensitive to frost are best started indoors so they have a head start when your last frost date approaches.
Some seed packets will tell you which method is recommended for that type of seed. This information can also be found in my free vegetable quick guide.
Of the plants that need to be started indoors, you can decide if you will be growing them yourself or buying starts from a nursery. For new gardeners, seedlings from a nursery may be the least overwhelming option.
If there are specific and unique varieties you want to grow, consider starting them from seed. Most nurseries have a relatively small selection of each type of plant.
When starting your own seeds, make sure that you have enough indoor space and grow lights needed for the number of plants you want to start. The plants will get bigger and most will need to be transplanted into ~3-inch pots before it’s time to take them out, so allow room for that.
Make a Planting Schedule
This step can get a little tricky, but your free garden planner will help a lot!
To make a planting schedule, write down when each plant needs to be started indoors and transplanted, or when it needs to be sowed outside.
Group them by planting dates and schedule it out so you know what to plant and when. If it is a plant that needs successive sowing, factor that into the schedule as well.

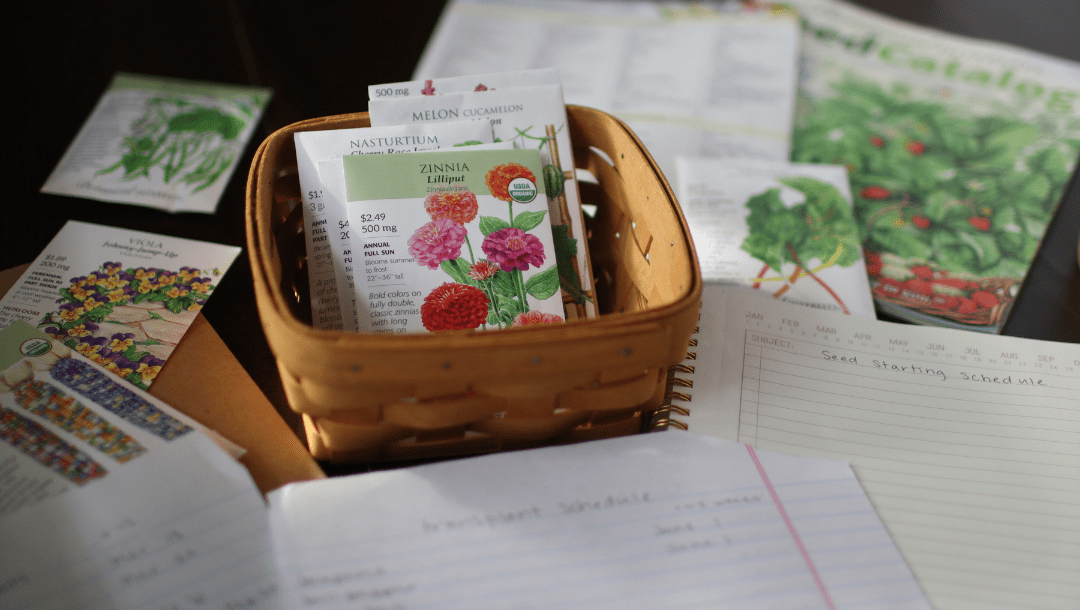
Purchase Seeds
This is possibly the most fun part! Once you have a good plan and you know what you’ll be planting from seed, it’s time to purchase your seeds.
I recommend doing this as early as possible; even as early as October is a good idea. A lot of seed companies run out of certain seeds and are unable to obtain more until the next growing season, so don’t delay purchasing them.
You can sign up to receive a seed catalog from your favorite seed companies each year. Once you sign up, you will receive it automatically in the fall or winter and you can start dreaming and planning!
Where to Buy Seeds for Gardening
I always encourage you to check out your locally-owned garden stores and nurseries first! A lot of them will even carry seeds from some fantastic small businesses. If you want to buy online or you can’t find the varieties you want, these are my favorite seed companies:
Botanical Interests
This is my favorite company because its seed packets contain a wealth of knowledge. With Botanical Interest seeds, you’ll rarely have to do your own research to get them planted.
Their seed packets fill you in on when to plant, where to plant, and how to plant your seeds. They also have good specifications on how large a plant will get and information on growing, harvesting, and enjoying your crops.
Their seed packets are also incredibly beautiful! Botanical Interests are fully open-pollinated and have some organic options. They could improve on their organic offerings and their variety is on the smaller side.
Johnny’s Seeds
Johnny’s seeds are 100% organic and they have a huge selection of lots of different varieties. I get all of my cover crops for my garden here as well as many unique varieties I couldn’t get elsewhere. Their seed packets have a moderate amount of information and they are difficult to tell what the seeds are at first glance. Johnny’s sells out of a lot of their popular varieties, so get yours quickly.
Baker Creek Seeds
Baker Creek is known for their large selection of rare seeds. They have an amazing amount of vegetables, flowers, and even some fruit bushes. Their seed packets are lacking in information but have photos that make them easily identifiable. Their website also offers free shipping, which is hard to beat!

A Garden Schedule
You may want a big-picture idea of the planning and planting process for a garden. I’ve got you covered.
The date ranges are intentionally left vague because it depends on your hardiness zone. The higher your zone, the earlier your gardening season begins. I personally work backward from my last frost date to plan everything.
Fall to mid winter
Take inventory of the seeds you have and start purchasing any that are needed for next year.
Mid to late winter
Start the garden planning process. Purchase more seeds as needed.
Late winter to early spring (10-12 weeks before last frost)
This is typically the time most gardeners start their indoor seeds
Early to mid spring (6 weeks before last frost)
Direct sow and transplant cool-season crops
Late spring (1-2 weeks after last frost)
Transplant and direct sow warm-season crops
Throughout the summer
Continue successive sowings when applicable.
More Articles to Get You Growing
If you are new to this whole gardening thing, definitely check out some of these other articles before you get started!
- 15 Easy-to-Grow Flowers for Beginners
- 9 Tips for New Gardeners
- How to Compost for Your Garden
- How to Keep a Garden Journal